ADMT – Active Directory Migration Tool:
In this article you are going to learn how to migrate two different Active Directory site, we’re going to migrate any AD object, users, group and computers using the ADMT – Active Directory Migration Tool.
The ADMT knows to re-join the source computer to the new domain and translating the permission to the same computer, maybe sound complicated buy later you’ll see and understand the entire procedure.
My tiny environment:
Source of the old Domain: ZubiPelegit.com – Windows Server 2016
Destination of the new domain: Pelegit.co.il -Windows Server 2016
Computers that indented to the migration of Windows 10 and Windows Server 2016 (Terminal Server).
In order to make a trust to these AD sites, we should verify the connectivity between sites and ensure ports are opens according to the following URL:
https://support.microsoft.com/te-in/help/179442/how-to-configure-a-firewall-for-domains-and-trusts
Let’s start with ADMT prerequires:
– Make Sure Windows Firewall is disabled on clients and servers, it may prevent us to make the translation process, you can deploy a simple GPO which disabled the Firewall:
Computer Config > Administrative Templates > Network > Network Connections > Windows Firewall
P-A-R-T 1
DNS configuration:
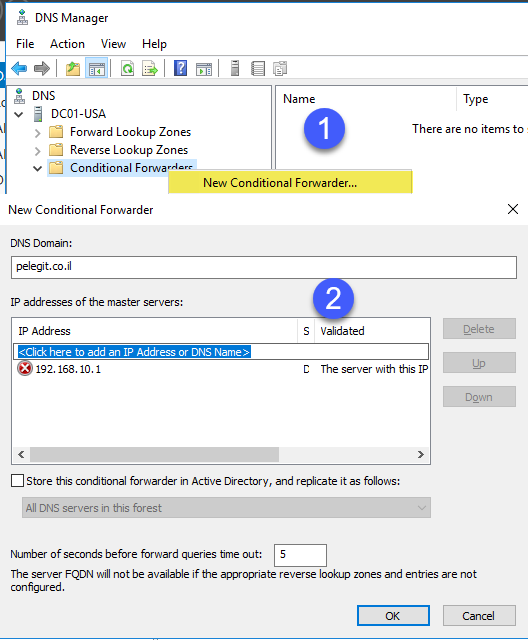
We should begin the DNS infrastructure preparation – so we have to configure new “Conditional Forwarder” on each site, basically, It’s for allowing us resolving the old domain records from the new domain and vice versa.
Let me show you how to configure it on one site and you have to do that on second as well.
I start with the old domain: (It does not really matter where you start, but if you follow my article do it as I’m doing for focusing and proper understating):
Open the source “DNS” server and right click on “Conditional Forwarders”
– If you get a Red error, do not work up, just click OK.
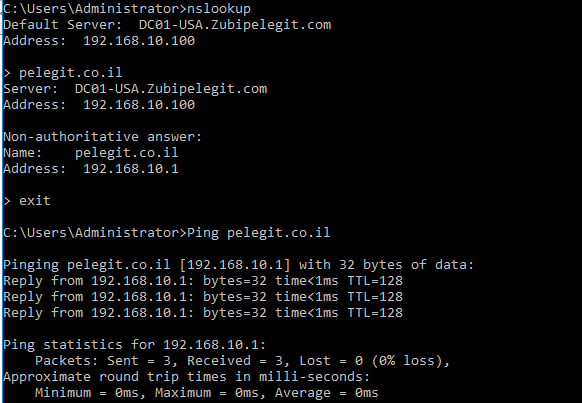
Let’s try resolving the new domain:
Open CMD > “nslookup & Ping” works
There is resolving, let’s carry on…
Note: Don’t forget – you must configure the same settings on the destination domain as well.
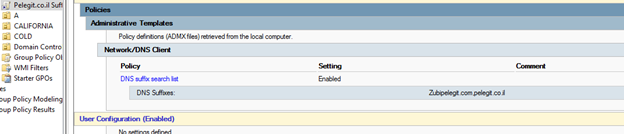
The second step is adding the destination suffix domain to all computers, Create a new GPO and add the two domains to domain suffix as I’m doing below:
Computer Configuration > Policies > Administrative Templates > Network > DNS Client >
Make sure both are appearing:
Let’s Ipconfig /all:
Two domains are appearing:
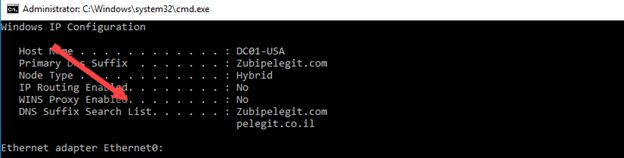
Note: Ensure that you make same GPO on the destination domain, so please create the same GPO over there and add these domains as well, then run “ipconfig /all” and verify you get the same result.
# The next step is to create the domain trust between our sites:
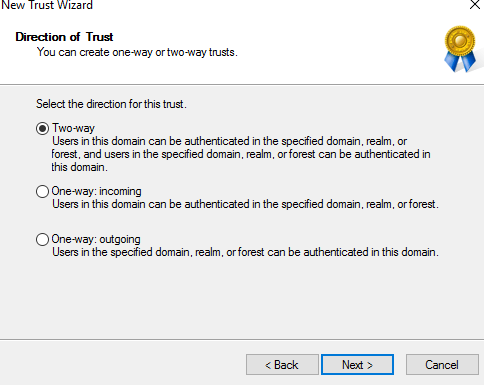
I am going to use on “two-way domain trust” so open the ADDT > Administrative Tools > Active Directory Domains and Trusts and right click on the domain name and then click on “Trust”:
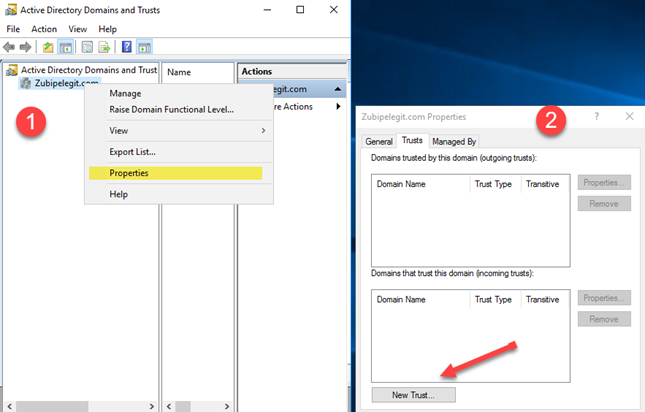
- Please keep following steps – Enter the destination domain name and click next:
“Pelegit.co.il“ 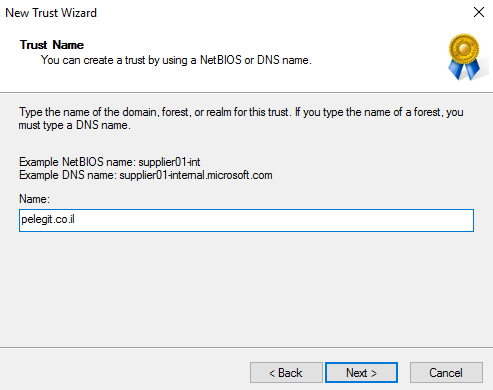
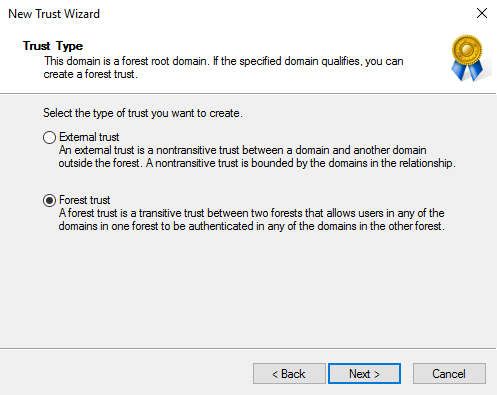
Forest trust:
Two-way:
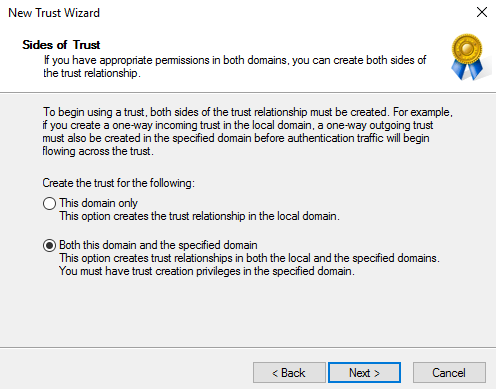
Set the trust also in the destination domain by choosing “Both this domain and the specified domain”:
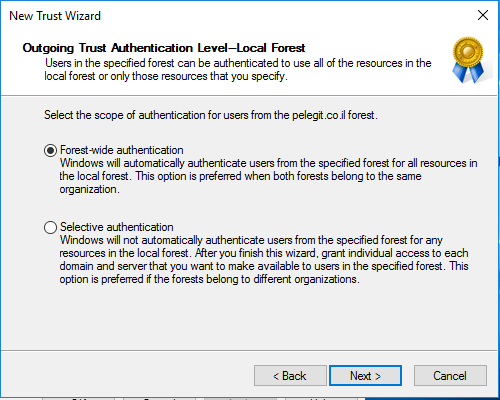
Forest-Wide Authentication:
Selective let’s us grant individual access to domain and server that we want to allow into the local domain.
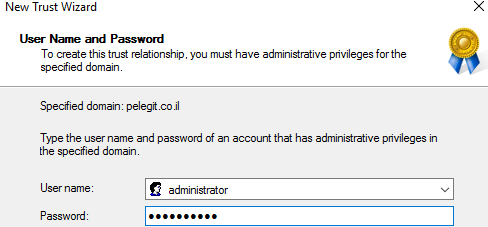
Specify the user and password of the destination domain:
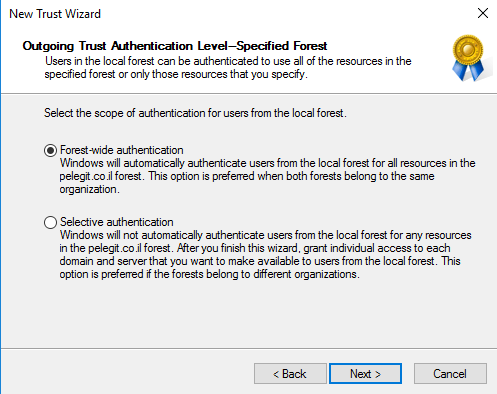
Forest-Wide Authentication:
Selective let’s us grant individual access to domain and server that we want to allow into local domain.
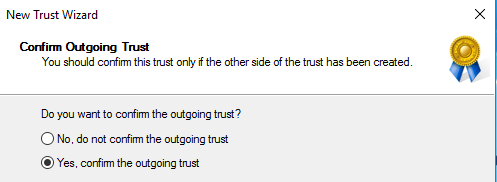
Confirm the outgoing trust:
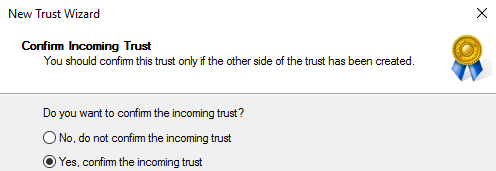
Confirm the incoming trust:
Trust has been created:
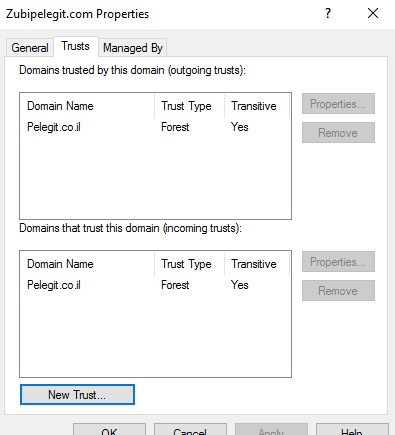
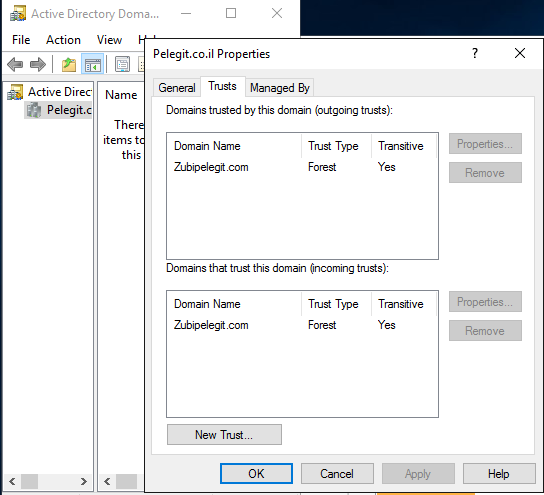
Just make sure the trust exists on the destination (it supposes to be, no action needed), just verifying it:
Done:
-P-A-R-T-2
The next step is configuring the user and Admin rights:
In order to migrate AD and initiating the translating process, we have to make sure both domains are accessible in the permissions level, Thereby, we have to create a new ADMT user in the destination domain which is on pelegit.co.il and then add him to “built-in administrator” group in the source domain zubipelegit.com.
Let’s create the user and assign him to “Domain Admin” and “Administrator groups”:
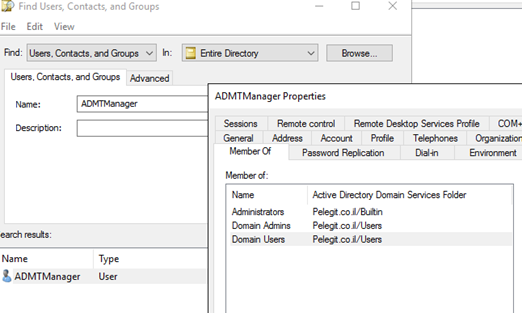
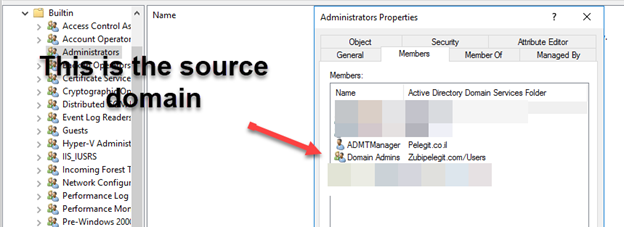
Open to source domain and open the “Builtin\Administrators” group and then add the “ADMTManager” user:
Along with that, we have to create new local administrator rights in the source domain and then add the “ADMTManager” user to that group, that’s for allowing this group is to be a member of the local administrator group on all clients and servers that we want to migrate:
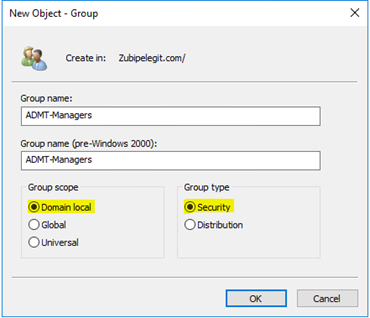
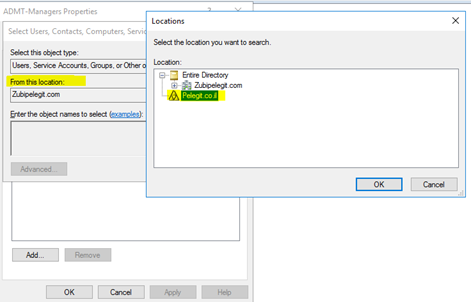
So, in the source create a new security group and name it “ADMT-Managers” make sure it is “Domain local” scope and security type:
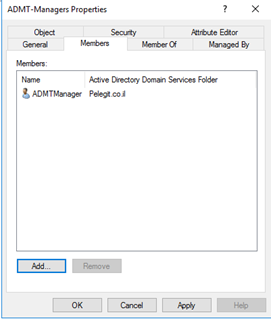
Add the “ADMTManager” to this group:
Adding:
Are we good right? – Stay focus…
The next step is to deploy this group to all local administrator group in the source domain using GPO:
Create new GPO and or use existing one and navigate to:
Computer Configuration > Policies > Windows Settings > Security Settings > Restricted Groups
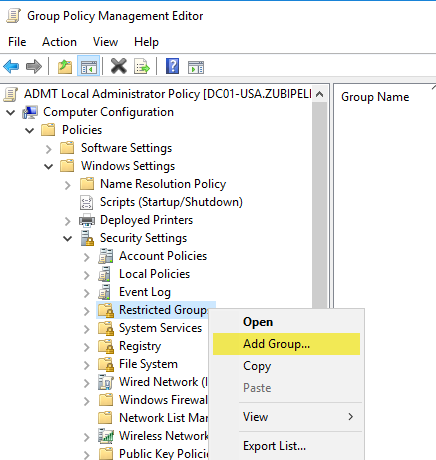
Find the new group:
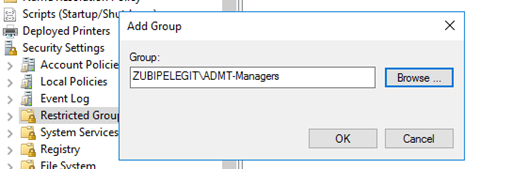
And add the “Administrators” group below:

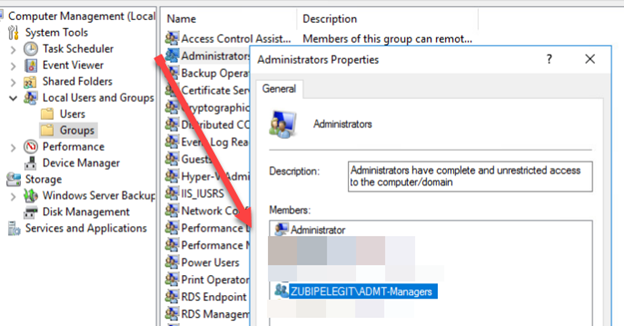
“gpupdate /force”:
Make sure the policy works by opening the computer management and checking the local administrator group.
Like this:
Great, the next step is to start with SQL server installation, I am going to install the ADMT on destination DC server which is “pelegit.co.il”.
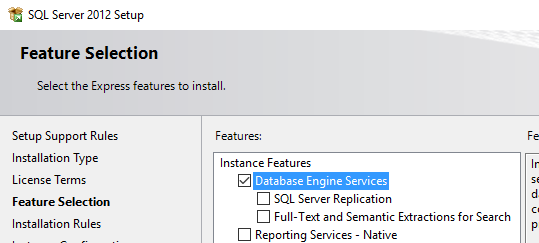
Download SQL 2012 Express and run the installations but please notice to these settings:
Note: you can use on existing different SQL instance, no problem with that.
Note: You can install the SQL express domain controller.
Run the SQL express installation and process with next until you are getting to:
In feature Installation select only “Database Engine Services”.
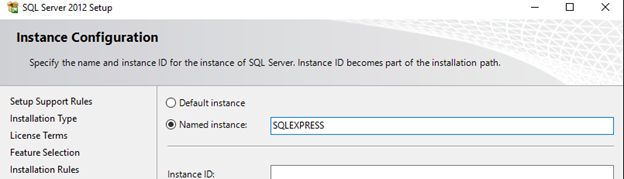
Instance Configuration:
Named instance: “SQLEXPRESS”
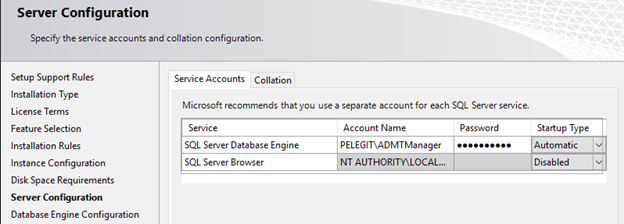
Server configuration:
On SQL Server Database Engine state the user with the password and set the startup type to Automatic.
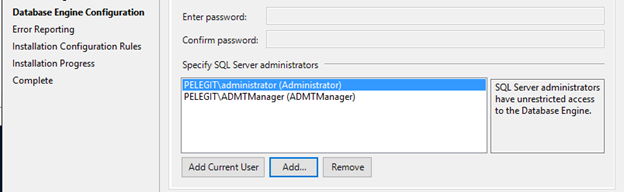
Database Engine Configuration:
Add the Windows authentication mode and add the “ADMTManage” user and next.
Post SQL finishes the installation, open a new CMD windows and run the following commands:
Net Localgroup SQLServerMSSQLUser$Target-DC$SQLEXPRESS /Add

XDC is DC NAME

ShowId MSSQL$EXPRESS

MD %SystemRoot%\ADMT\Data

ICACLS %Systemroot%\ADMT\Data /grant *{Paste the SID from above}:F

Net Localgroup SQLServerMSSQLUser$Target-DC$SQLEXPRESS /Add
ShowId MSSQL$EXPRESS

MD %SystemRoot%\ADMT\Data
Copy the SID id and run this:
ICACLS %Systemroot%\ADMT\Data /grant *{Paste the SID from above}:F![]()
-P-A-R-T-3
The next step is to install the ADMT which is straightforward installation.
Download the installation from the following URL:
https://www.microsoft.com/en-us/download/details.aspx?id=19188
And then, run the installation on the destination domain [pelegit.co.il], I have installed in on my DC.
Run the installation wizard and continue with next.
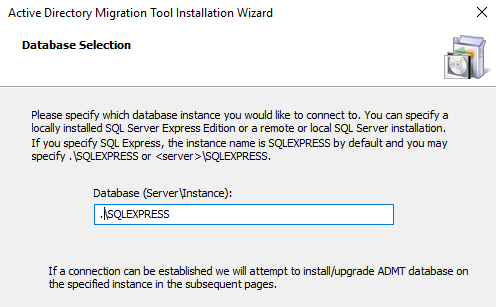
In the databases selection insert your instance name:
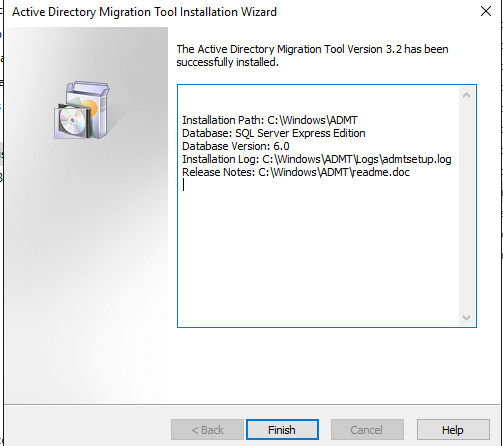
Installation finished successfully:
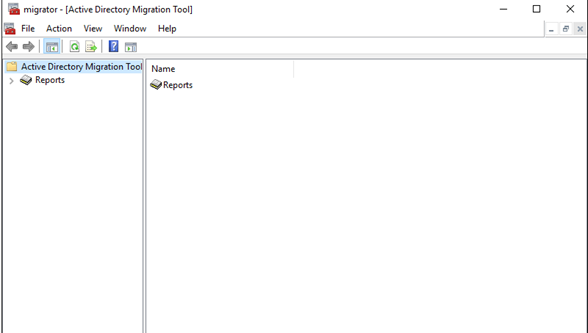
Active Directory Migration Tool:
Before installing the “Password Export Server” which assisting us to export source passwords, as well as we should handle the SID IIS.
As you know to every AD object has SID which is unique and can’t be changed.
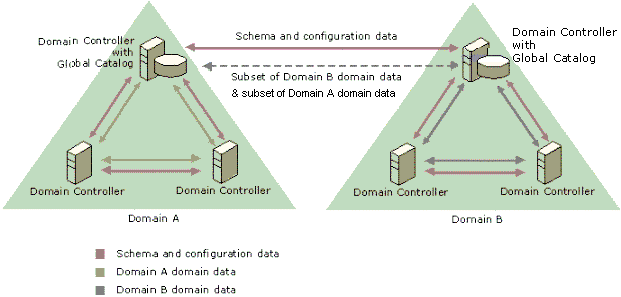
SID filter: knows to remove all foreign SIDs from User’s access token while accessing to any recourse on trust.
by default, while establishing trust between two sites the SID filter is enabled,
Look at the picture: credit to activedirectoryfaq.com

After user migrated to the new domain it got a new SID and when that user tries to access source resource it won’t be able to do that due to new SID that created after user migration. By enabling the “SIDhistroy” we solve this issue.
We can overcome this mini obstacle using the following command:
netdom trust {Soure zubipelegit.com} /domain:{target-pelegit.co.il} /enablesidhistory:Yes /userD:{username} /passwordD:{password}
In a case of an external trust, you may use this:
netdom trust { Soure zubipelegit.com } /domain:{ target-pelegit.co.il } /quarantine:No userro:{username} password:{password}What about the password? 💡
After users migrated to the new domain we want to keep their passwords right?
In order to complete this task, we have some tasks to do:
The first step is to create a key in the destination domain:
admt key /option:create /sourcedomain:{zubipelegit.com} /keyfile:”C:\PES.pes” /keypassword:{password}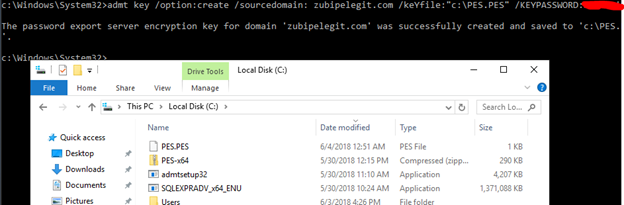
Copy that file to the source domain.
The second step is to download and install the “Password Export Server” on the source server:
Download:
https://www.microsoft.com/en-us/download/details.aspx?id=1838
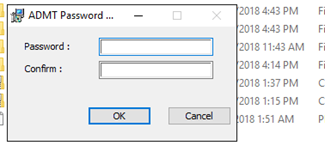
Initiate the installation and browse the PES file that you have copied:

Insert the password you stated into key password exporting step:
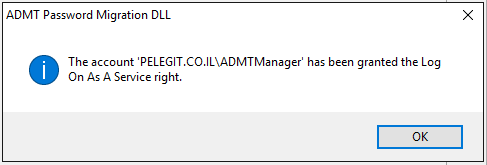
In the service details add the “ADMTManager” account:
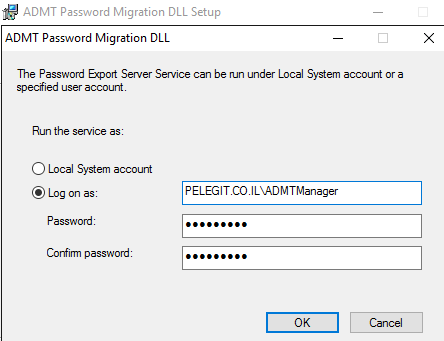
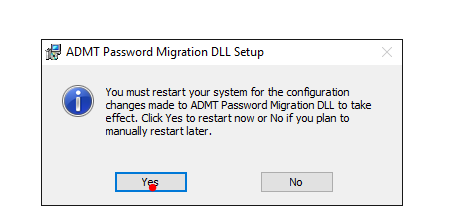
Restart is required – Be aware it is Domin Controller yeah?
Note: Do not start the service yet, we will start it when it needed.

-P-A-R-T-4
Hurray! – We can start the migration process.
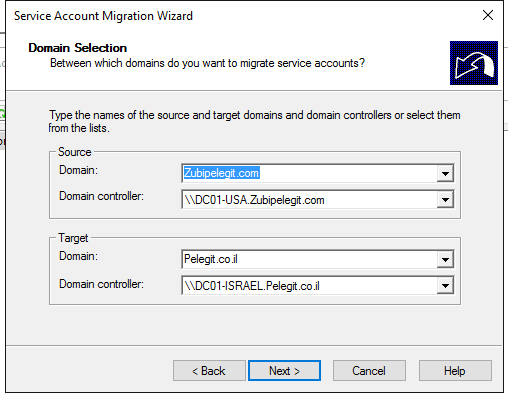
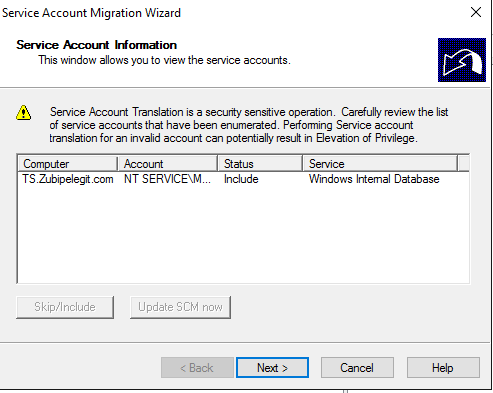
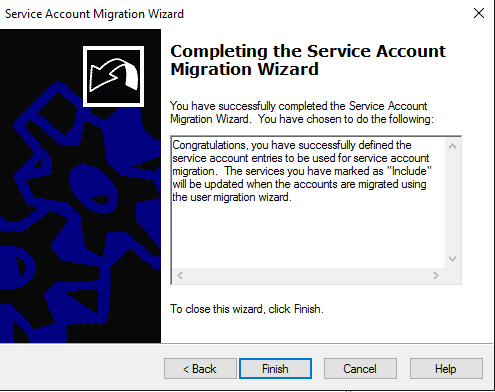
Service Account Migration
The first wizard I would like to run is the “Service Account Migration”:
Open the ADMT and right click on “ADMT” choose “Service Account Migration Wizard”:

Type the names of “source” domain and “destination”:
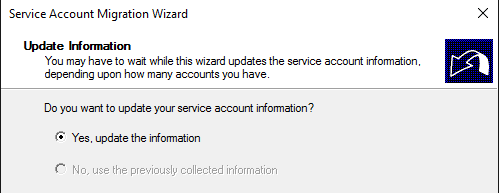
Update the information:
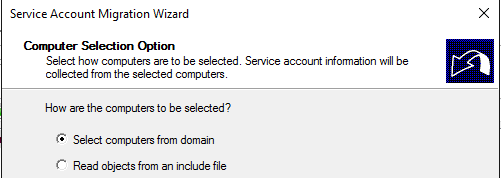
Select Computer from the domain:
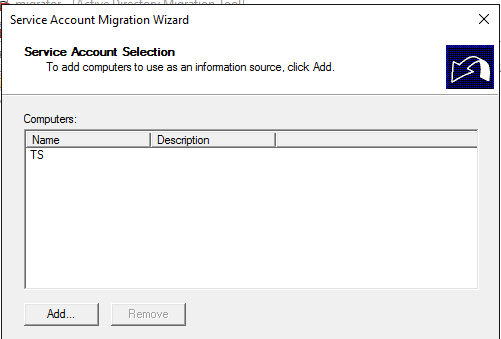
Add the computer you want to find the service accounts:
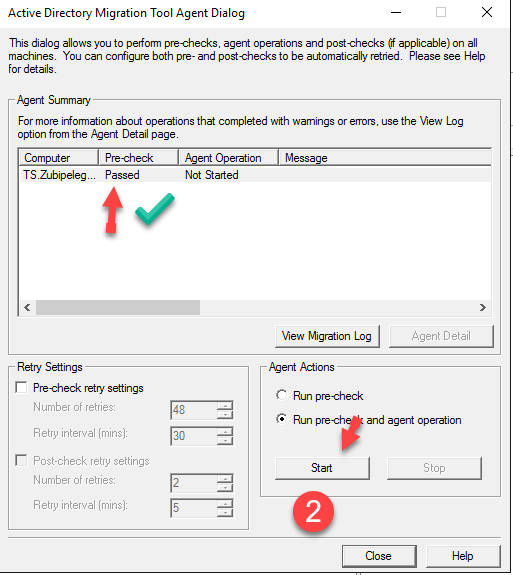
And now we have to run the “pre-check” process:
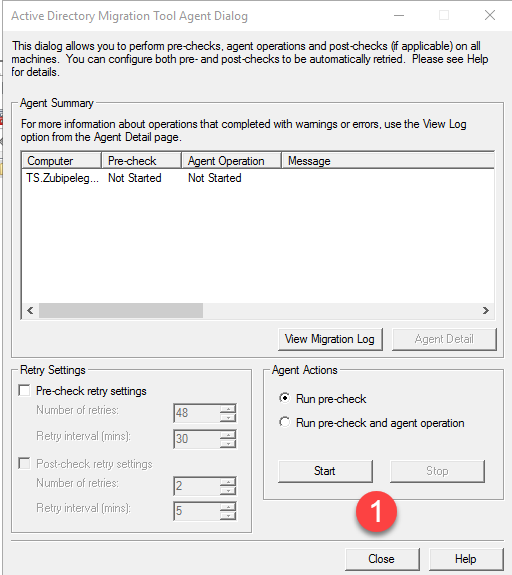
As long as the pre-check passed, we can run the agent operation by clicking on “Run pre-check and agent operation”:
You can view the log if you want, then click on “Close”:
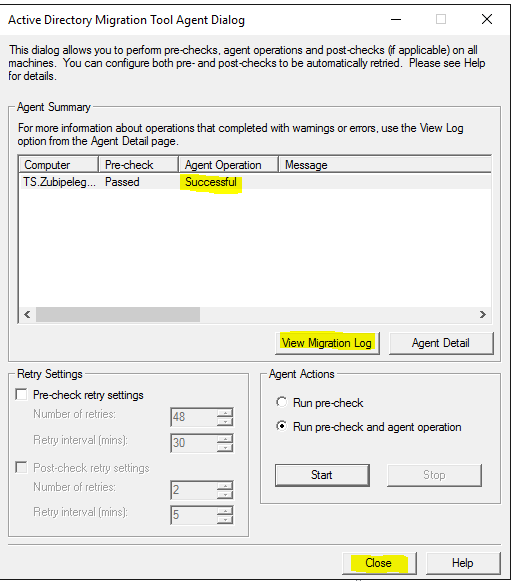
The only service account that exists on the target machine is this:
Succeeded:
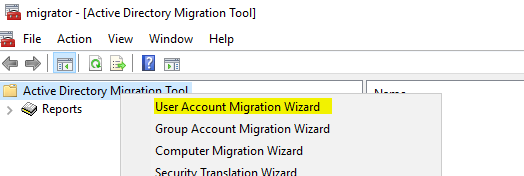
Migrate user account wizard:
Right-click again and the “User Account Migration Wizard”:
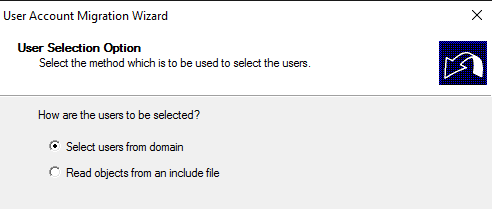
Same as the previous “Domain Selection”:

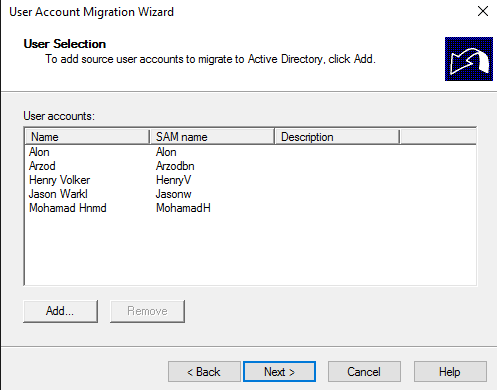
Select the users you want to migrate:
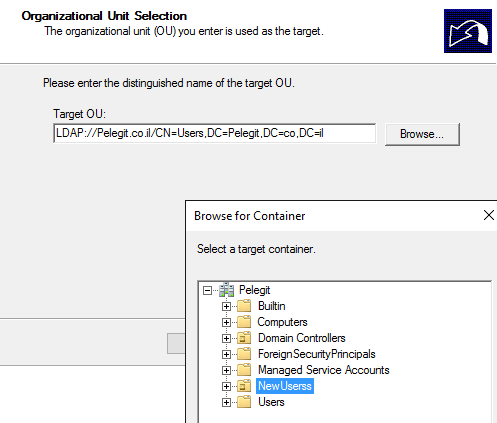
Select where do you want to move these objects into your new domain:
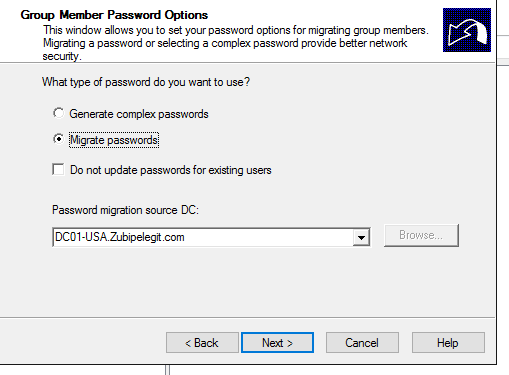
What about the password? Migrates as well.
Note: You have to run the “password export server service” in the source domain:

Migrate Passwords:
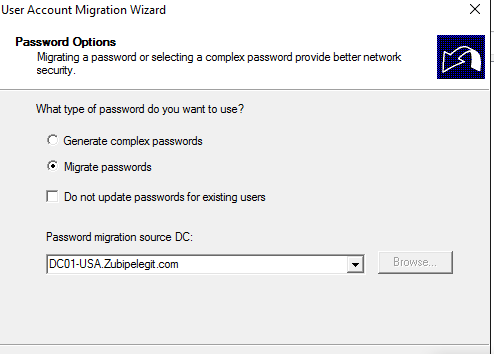
Insert source administrator credential:
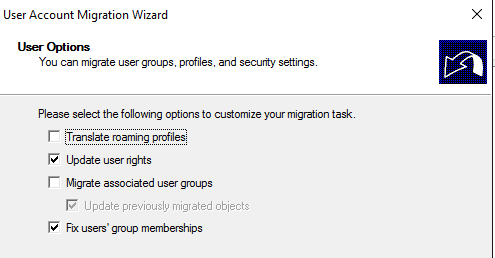
Update user rights and fix user’s group membership:
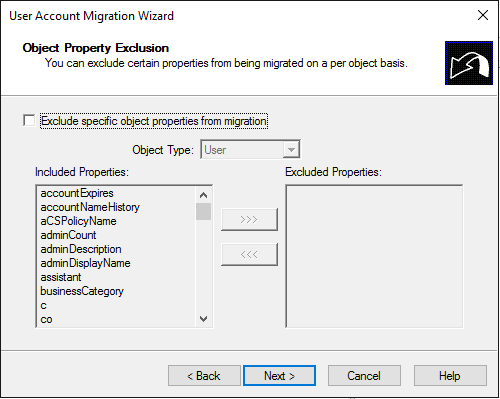
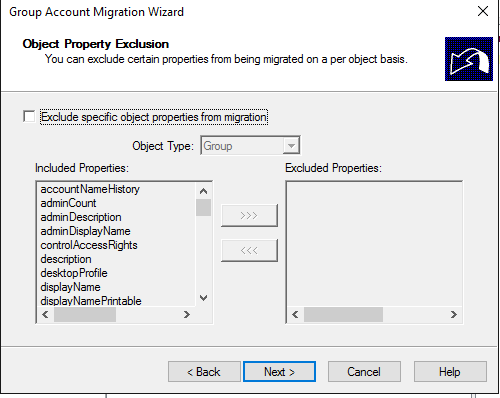
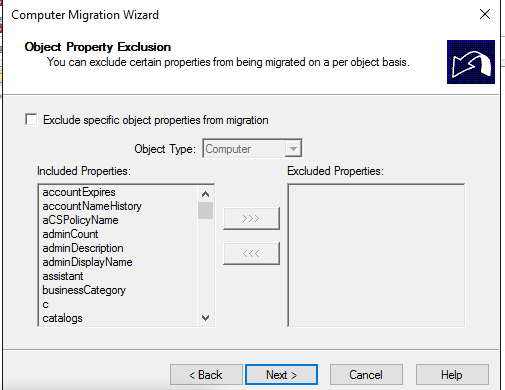
As you can understand, it coped the attributes as well, you can exclude some of them if you want…:
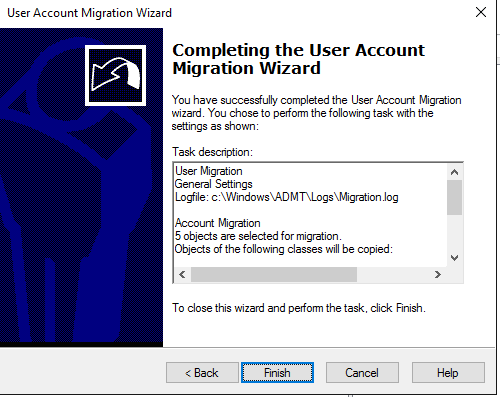
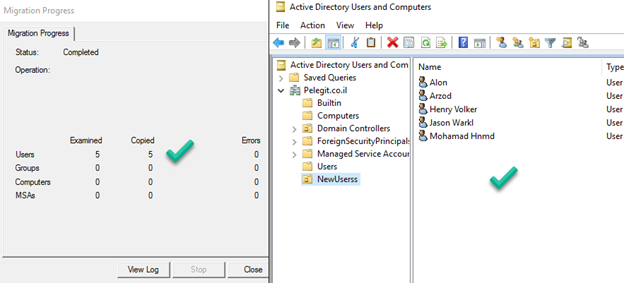
Copied successfully:
Migrate security groups:
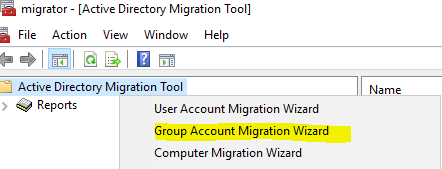
Right click on ADMT and then “Group Account Migration Wizard”
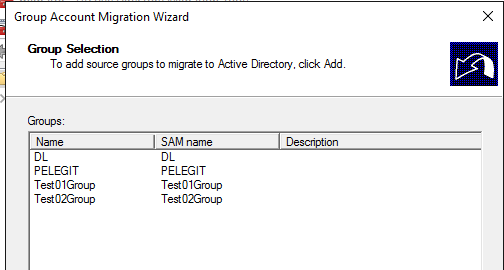
Continue with next until you get to group section and then add your groups:
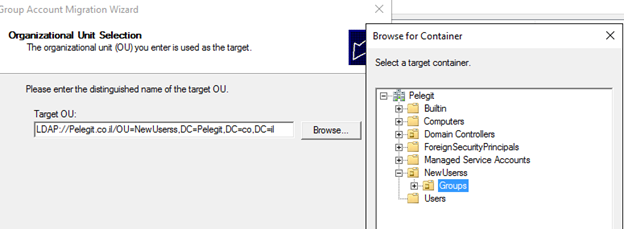
Select where do you want to move and keep these groups:
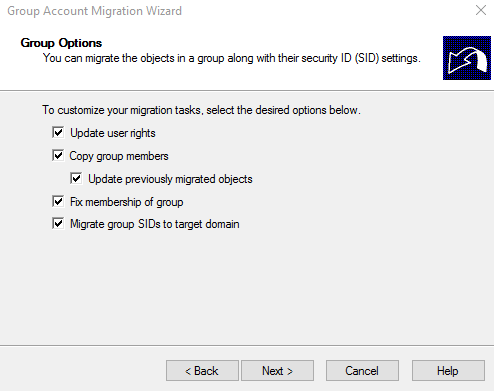
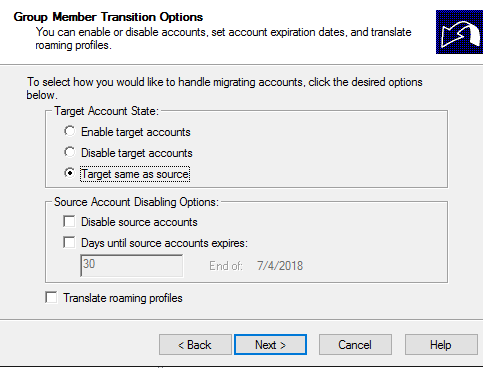
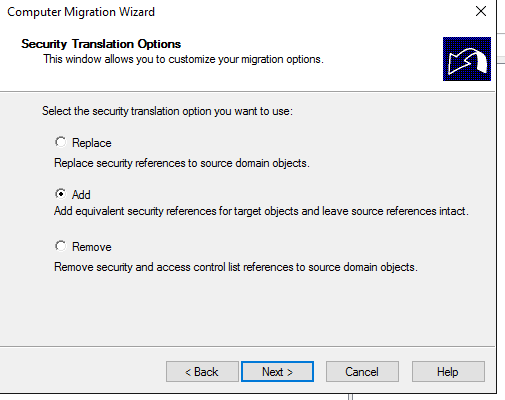
Note: important to understand what you want in these windows:
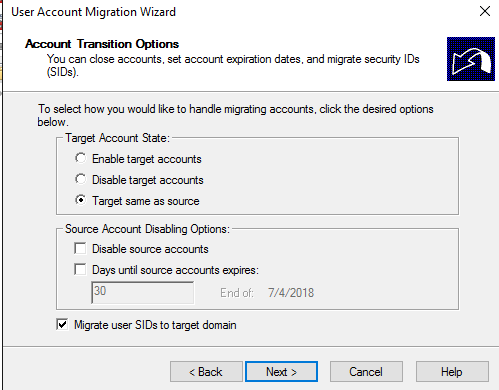
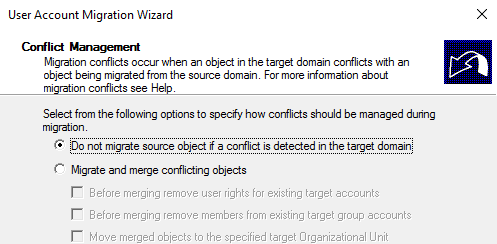
I am selecting the following options for completing the migration correctly.
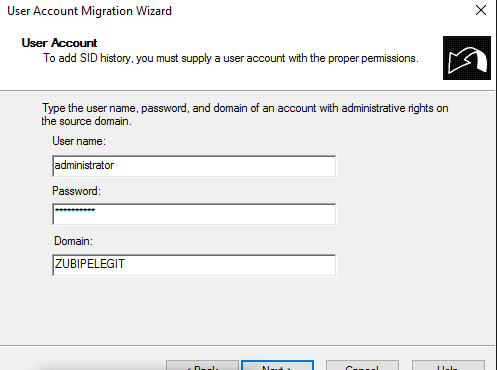
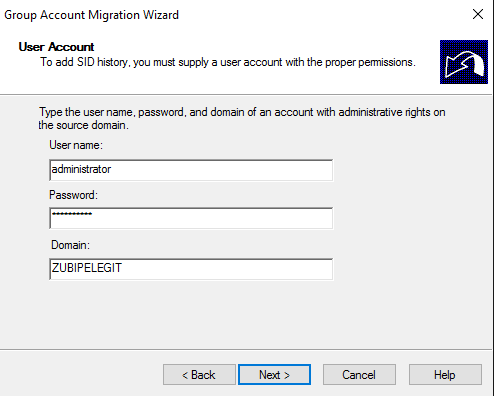
Insert user and password of “source” Administrator to add SID History:
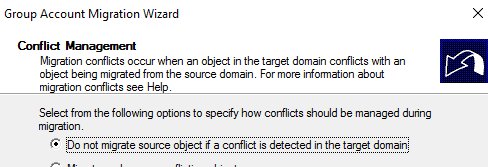
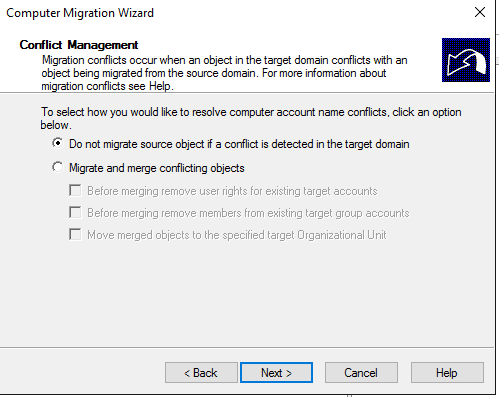
Do not migrate source object if a conflict is detected in the target domain:
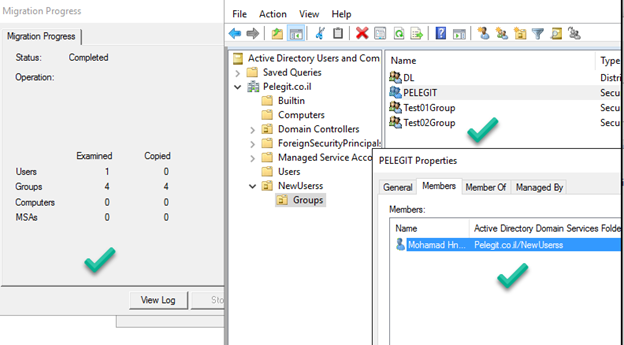
Copied successfully with members:
In order to migrate Exchange Distribution group, you must convert then using the following command in the source domain:
$DistributionGroups = Get-AdGroup -Filter { name -like "GROUP-NAME -AND GroupCategory -eq "Distribution"} | select -exp SamAccountName
foreach ($dls in $ DistributionGroups) { Set-AdGroup $dl -GroupCategory Security }
ADMT Computer Security Translation
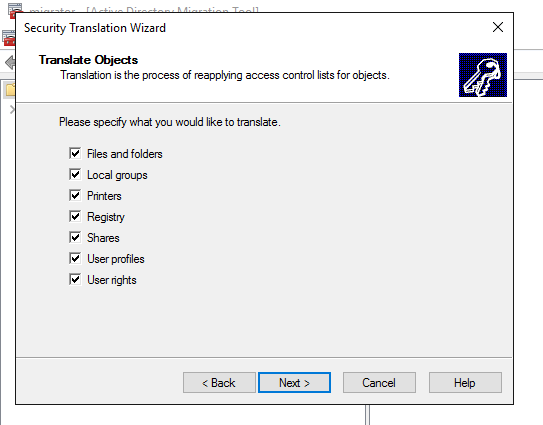
Now we have to run the ‘ADMT Computer Security Translation’ – this step makes our life easier, it knows to copy the permissions from the old user to the new user and adding the old SID of the user and of course
applies them on the folder & files in the certain computer you migrated.
Very crucial part, as well as we want to keep on same profile on the same computer, let’s see how it works:
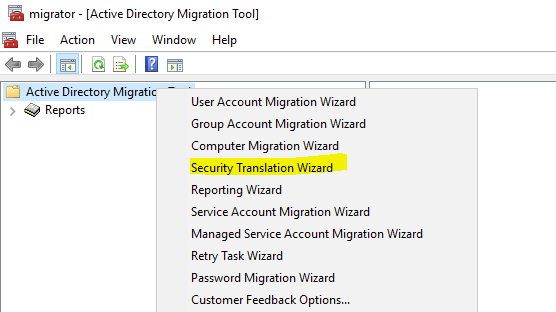
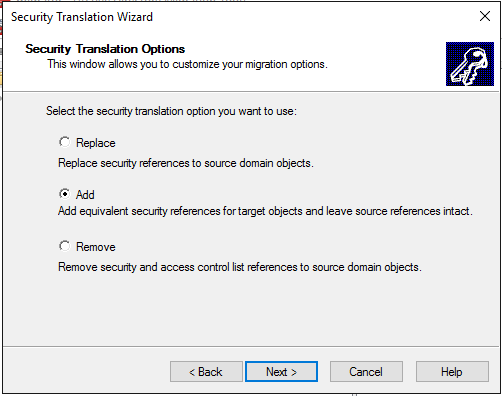
Right click on “ADMT” and then “Security Translation Wizard”:
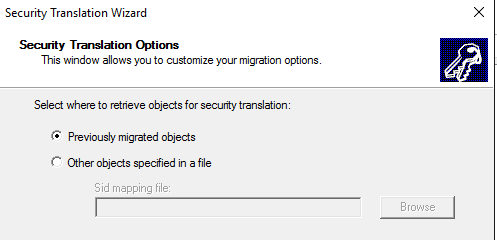
Previously migrated objects:
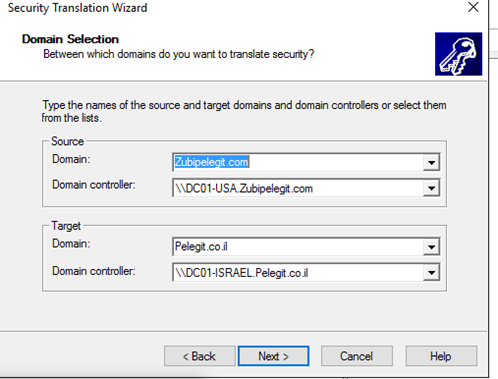
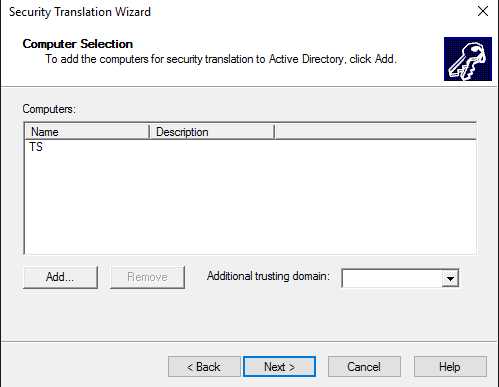
Add the computer:
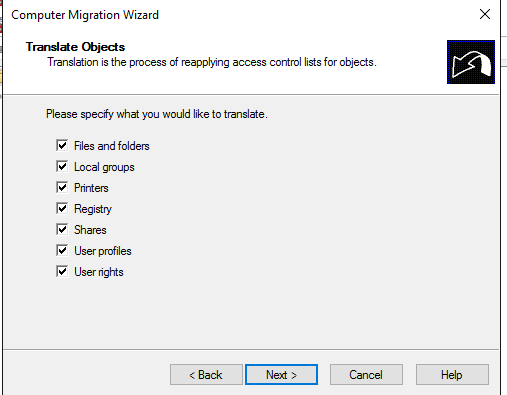
Specify what do you want to translate:
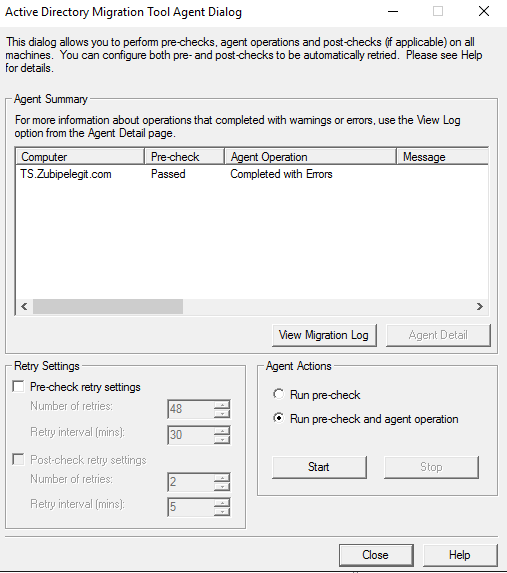
Here we have to run the pre-check process:
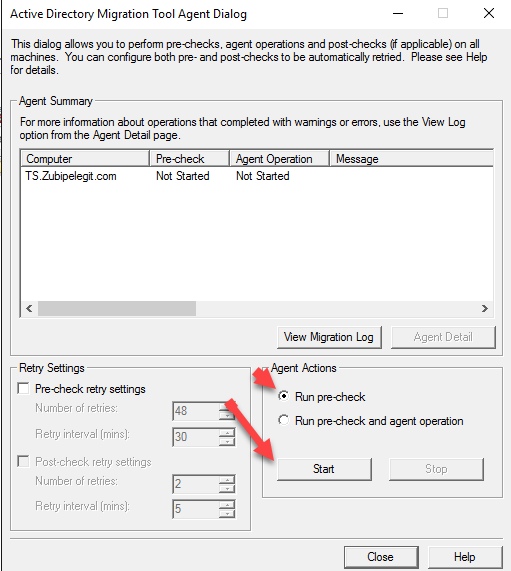
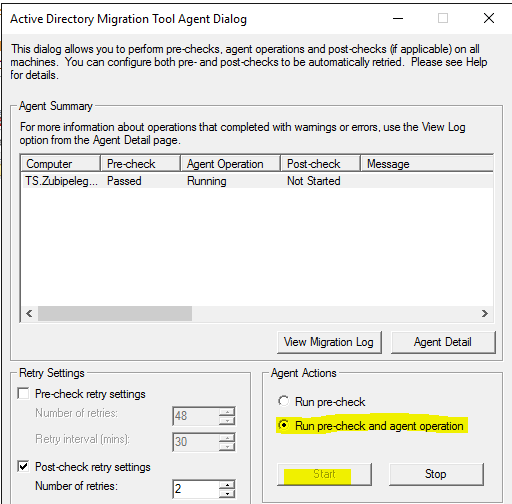
Then we have to run the agent operation:
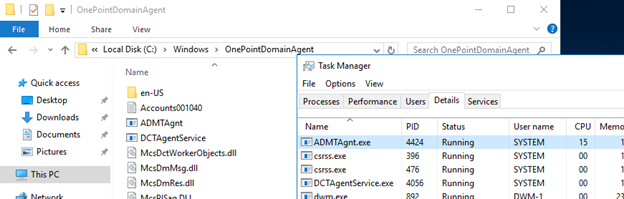
In this process it deploys the agent on the target computer:
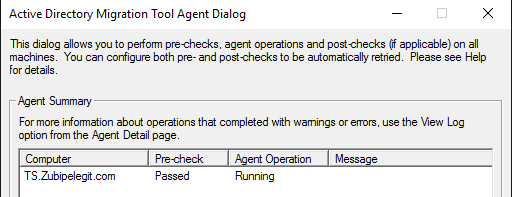
Target computer:
Completed– Click on Close:
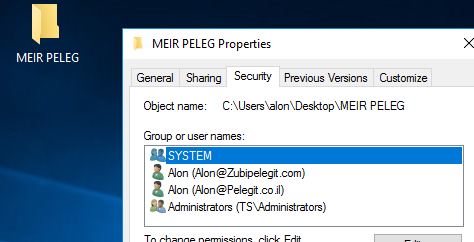
Let’s login to that computer and you will see what’s going on there
NTFS permission copied:
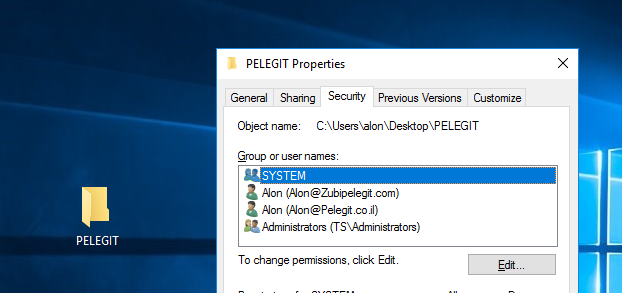
From this point any changes that user done will apply two permissions:
And the last task is to migrate the computer object and re-join the machine to the new domain.
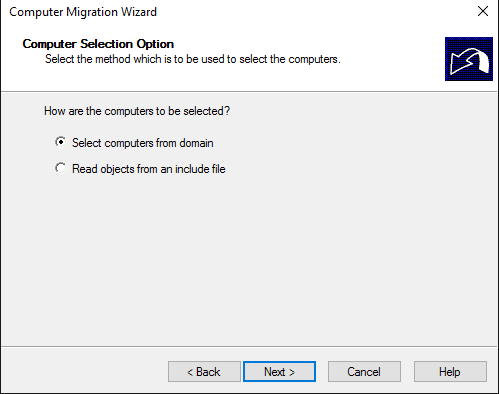
Computer Migration Wizard
Go back to ADMT and select “Computer Migration Wizard”:
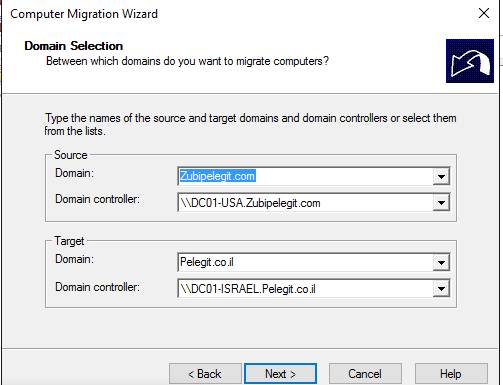
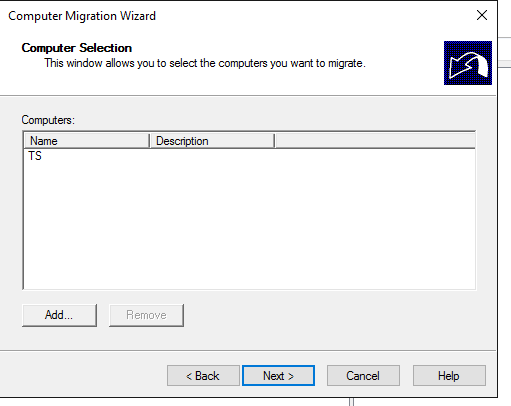
Select your machine:
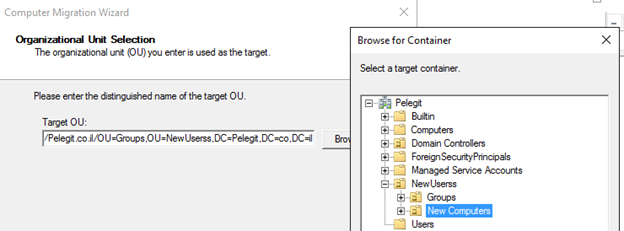
Select the correct OU for this object
It copies the object to destination DC:
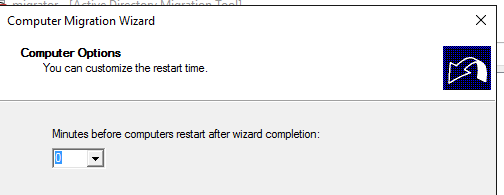
You can set time before computer restart when the wizard completion, I set 0 which is no wait.
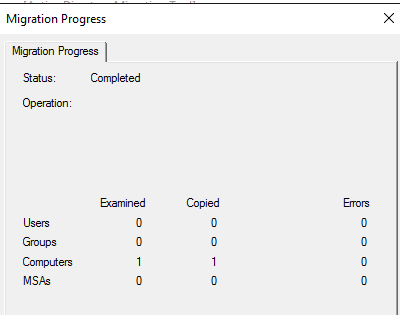
Run the pre-check and the agent operation:
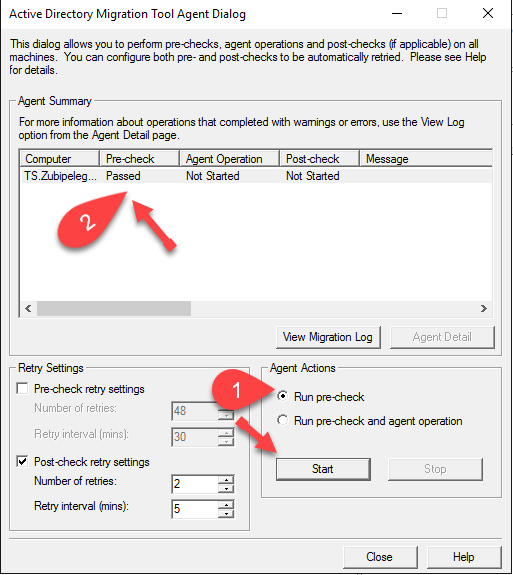
Then run the agent operation:
Waiting for a reboot:
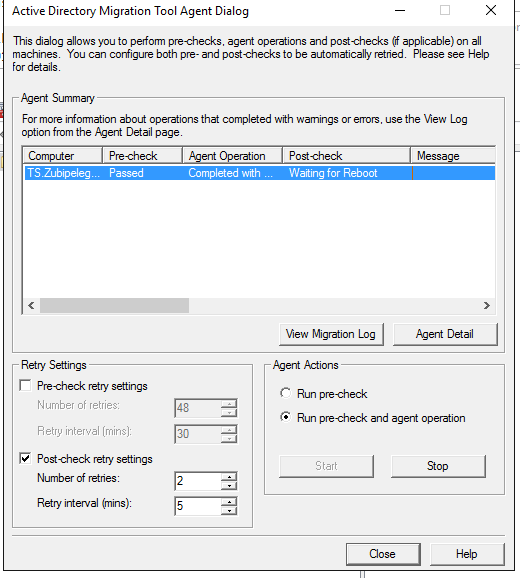
Target computer performing restart:
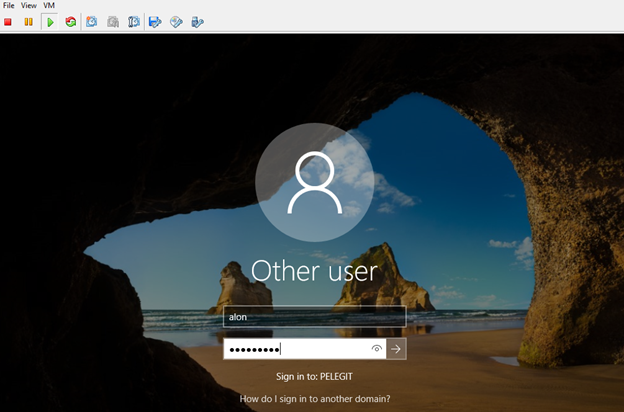
Welcome to the new domain:
When a user will try to log in, he asks to change the password:

It happens because the “pwdlastset” value is “-1” I would run the following script on that user organotin unit.
Open PowerShell in the new DC and run this:
Get–aduser –filter {pwdlastset –eq 0} –searchbase “dc=contoso,dc=com” –searchscope subtree | set-aduser –changepasswordatlogon $falseIf it’s good for you, you can leave it as it is and let them change the password.
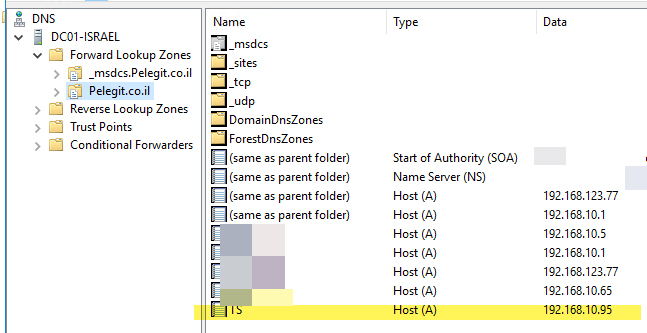
On the new DC, you can see that there are new DNS records:
By the way, in a server case if you have a terminal server you will be able to migrate it as well. it knows to migrate TS perfectly!
Hopefully, the article was interesting for you, the ADMT definitely saving time while migrated two sites to one.
For any question, leave a comment.