As you know Microsoft already released the Windows 10 1709 fall creators updates for us and many organizations are planning to deploy this great update which comes with some imperative security improvements.
The wondering is how to deploy it, we have several options to do that, Whether is deploying a new TS, deploy this update using SUP or use on serving plan which is available for us on SCCM, for me, the easiest way to deploy fall creator update is using servicing plan which intends to these scenarios, therefore In this tutorial, you are going to see how to deploy Windows 1709 update using servicing, my machine is Windows 10 1703.
A just little bit about “Servicing Plan” which is a powerful board category on SCCM, with servicing plan we can apply any Windows 10 update and upgrade.
Over there you can get great information about your Windows 10 machines, for example, Windows 10 usage and Windows 10 Rings:

As you can see the expired value displays us the percentage of systems that are on past Windows 10 build (end of life editions), the Expire Soon displays us the percentage of systems that near to end of life, the alerts show the active alerts.
– Make sure you SCCM is synchronizing the Windows 10 updates from WSUS or from Microsoft update catalog.
If you want to get very good Windows 10 asset report you can make use of the following solution of “systemcenterdudes”:
https://www.systemcenterdudes.com/sccm-windows-10-report/
Go to “All Windows 10 Updates” and download the fall creators updates:

Specify name and package source:

Specify the distribution point:


Create a new servicing plan and then click on “Advanced Settings”

- Specify a name for your deployment.
- Deploy it to target collection.
- Specify the Windows readiness state to a Semi-annual channel.
- select the language and the title for finding the update.
- state, when do you, want it will be available ( be careful with this settings!).
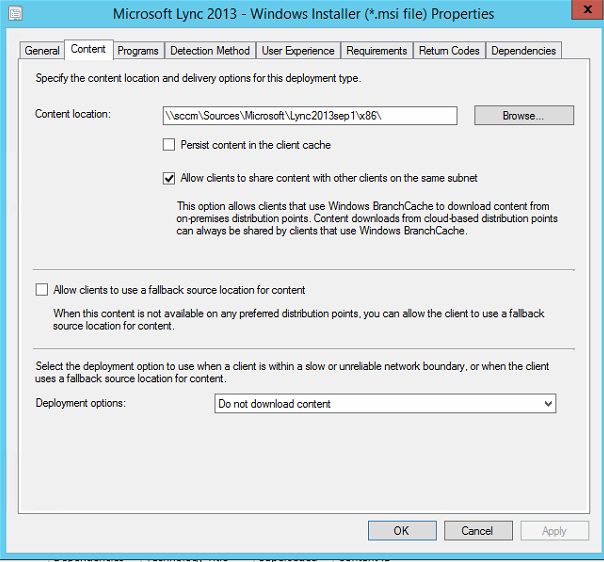
- Select the deployment pack you have downloaded.
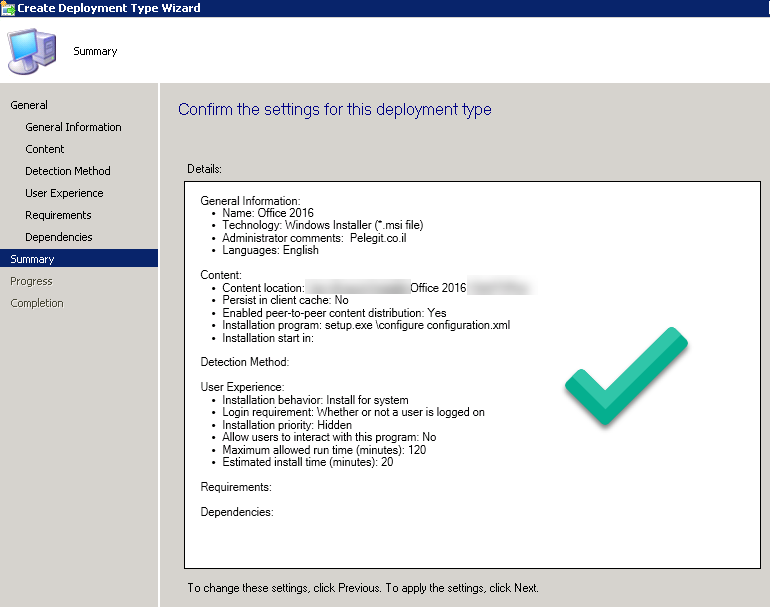
- Proceed to next unless you have to change some settings according to your opinion.

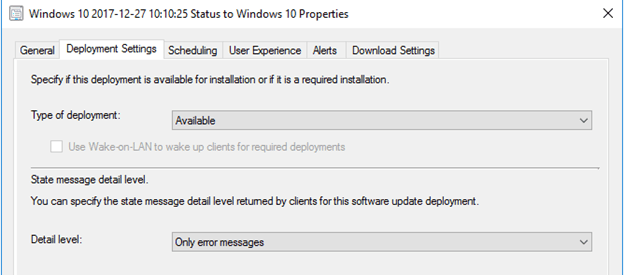
Go to the monitoring tab and then to deployment and change the deployment settings to “available” and set the user experience settings:
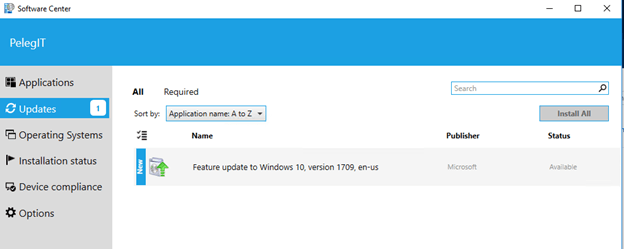
Once the client got the policy, you can see the update available on the software center:
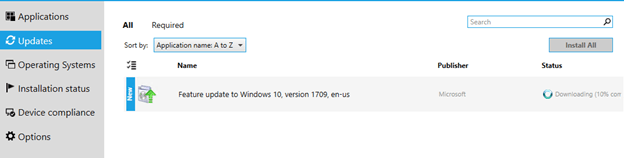
Downloading Process:
You can see te that the update is downloaded on “CCMcache” folder:
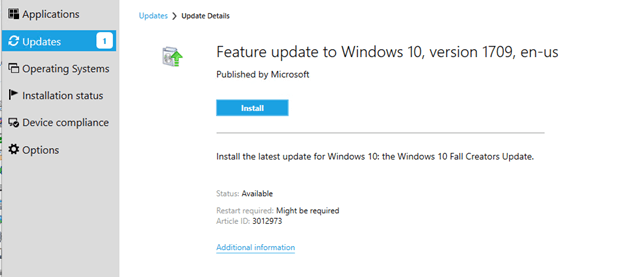
Click on Install:
Restart is required:

——————————————————————————————————————
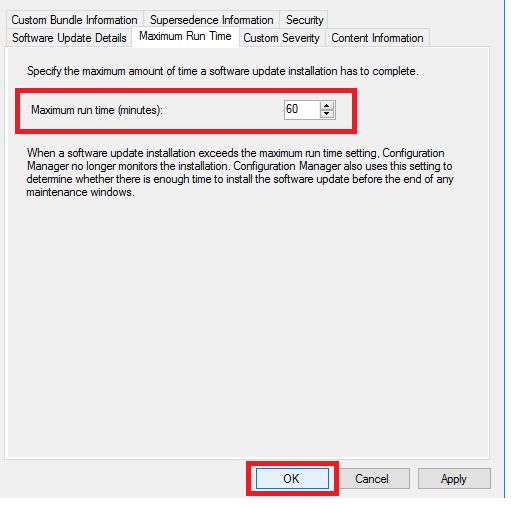
if you get the following error you have to increase the update maximum run time value (right click on the 1907 update and properties)

Increase it to 60-200 minutes:
——————————————————————————————————————
Working on updates:
The update has been deployed successfully, as you can see my current version is 1709.

let’s sum it up, the deployment is very straightforward, we can create any update and upgrade task and deploy it per a collection.
I would suggest checking this at least on two lab machine’s before deploying it on production systems, I would estimate the deployment duration about 40 minutes per deployment which include downloading, updating and installing.
Make sure you SCCM environment is up to date.