In this article you’ll learn how to deploy specific printer to certain IP addresses (Range) let me describe you a good Example: In my building there are 2 floors, (1st) floor 1 IP range 172.20.10.10 – 172.20.10.100 in this floor HR and Marketing users are located, both of them, as long as users will perform login from any computer in these IP ranges they automatically will get a printer name: HP 440 Black and White
But in Floor 2 the CEO and IT Team located, their IP range is 172.20.20.10 – 172.20.20.100, the Purpose is pretty similar as floor 1 the difference is that in floor 2 I want they’ll get a printer name: Xerox 500 Color. We have this ability in group policy preference, it’s a wonderful feature that GPO allows us to deploy printers by IP range. How can we do that?
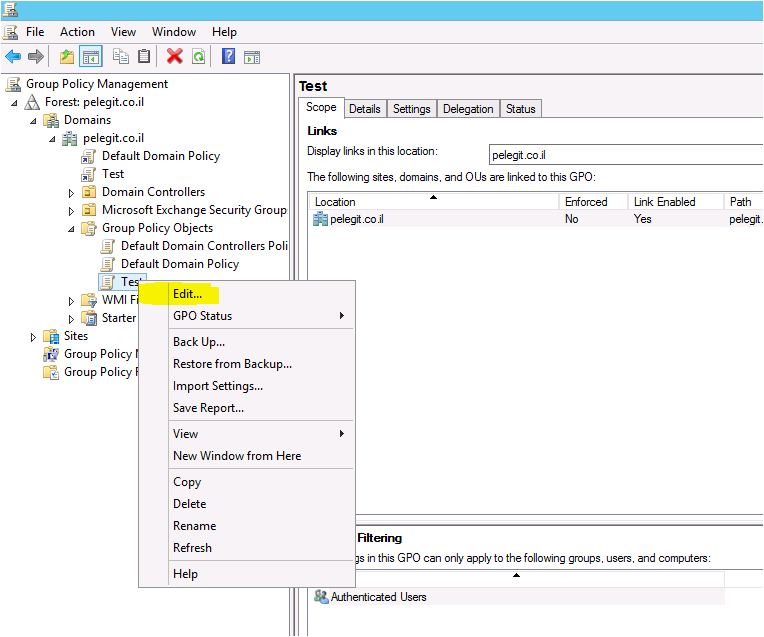
First of all, we have to create new GPO:

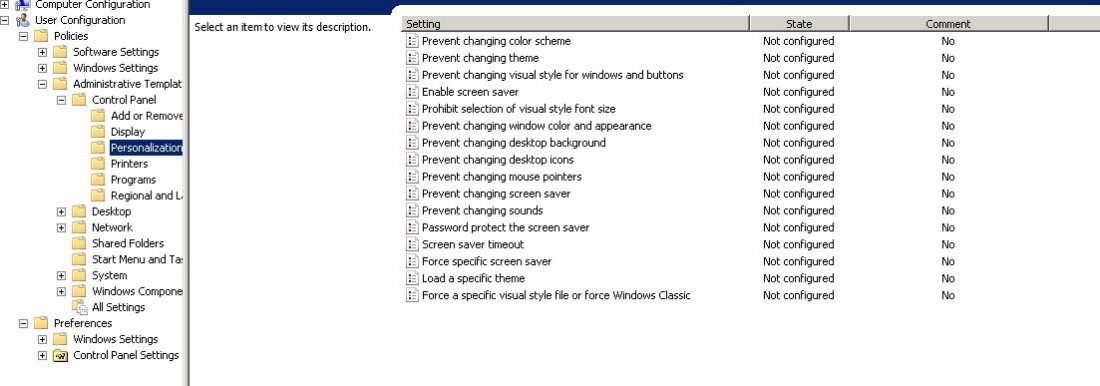
Afterward, we have to navigate to >
User Configuration > Preferences < Control Panel Settings > Printers:

Now you have to decide what kind of printer you want to use:
Shared Printer
TCP/IP Printer
Local printer
I have selected Shared Pinter:

In the next window we have to insert the printer details:
a. Action : Update
b.Shared printer path

Let’s go over to the second Tab: “Common” and check in the “Item-Level targeting ” and then click on Targeting button:

You get this window:

In this step we need to select which Item we want to use, we are looking for an IP Address Range:

I type my IP address Range but please be aware that only computer is in this range we get that’s printer.


That’s it,
I really recommend making this, use and implement the feature in your organizations, As you see it’s a very efficient feature that can reduce your overwhelmed at work.