Hello everyone,
In this article, you are going to learn how to add a new remote Distribution Point in your environment.
Before I start, for what do we need remote DP? Why is it necessary? So, if you are working on an organization which doesn’t have a remote site at all, it’s irrelevant for you,
But if you have several sites that so far away than you, DP is the ideal solution for you, in order to understand the purpose of distribution point please look at this:
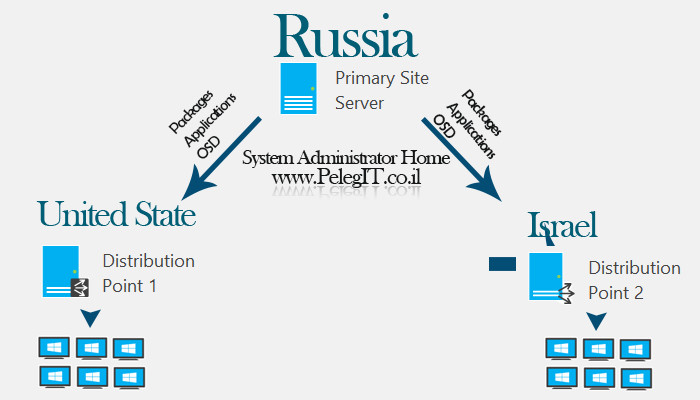
Organizations are creating remote DP’s just to allow to other branches faster and efficient accessibilities to their clients without getting content directly from the main site, as you can understand Russia is the Primary Site Server, I have two small branches on the WW, in Israel and another one in United State, the Main DP which located in Russia replicates all Packages, Applications, OSD etc… to other DP’s according to the schedule you have set.
Clients from USA & ISRAEL getting the content directly from their DP they are not downloading the packages, applications whatever from the main site, once IT guy will try to deploy a Task Sequence in USA the TS will download automatically through Israeli DP that located in ISRAEL, it means that the process will be faster than download content from Israel to Russia directly.
Just try to imagine Microsoft didn’t think about DP solution, and your IT team try to deploy 15 Task sequences of Windows 10 ( Scratch deployment) from Russia to United State, your bandwidth will be choked and the solution maybe will be:

OK, Lets start!
The term to deploy new DP is to add the SCCM Computer object to Local Administrator Group on intends server.

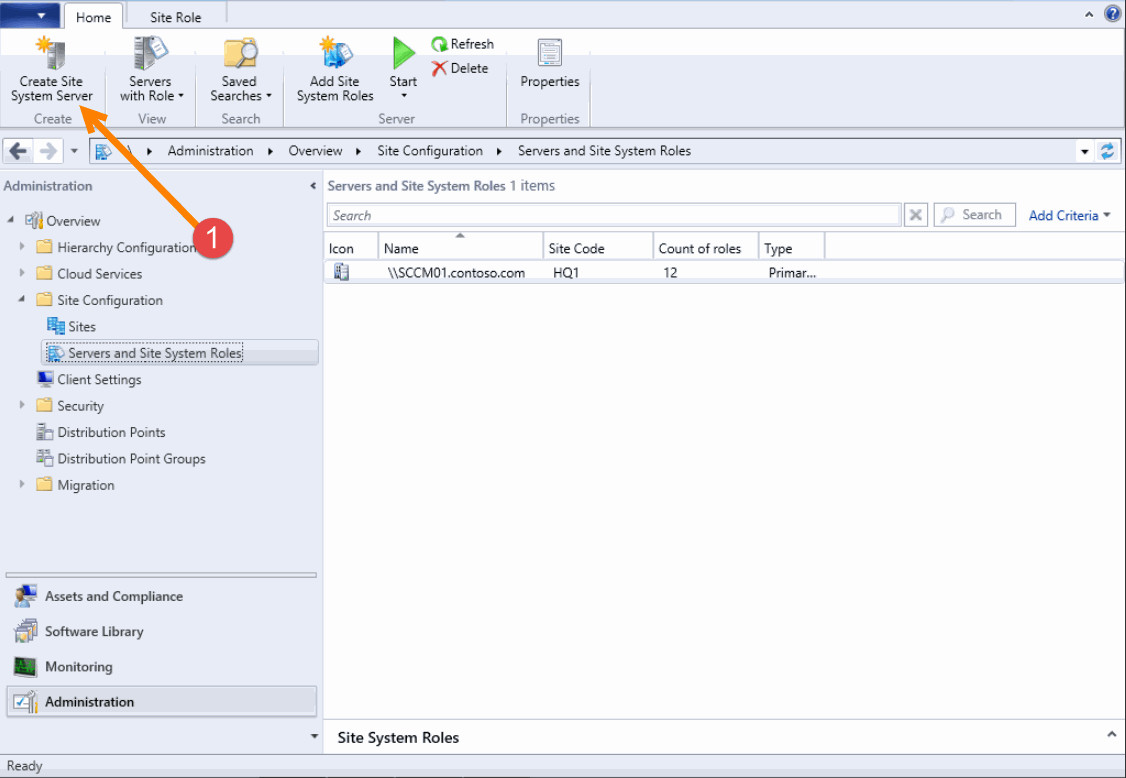
Now, we have to create a new site System Center
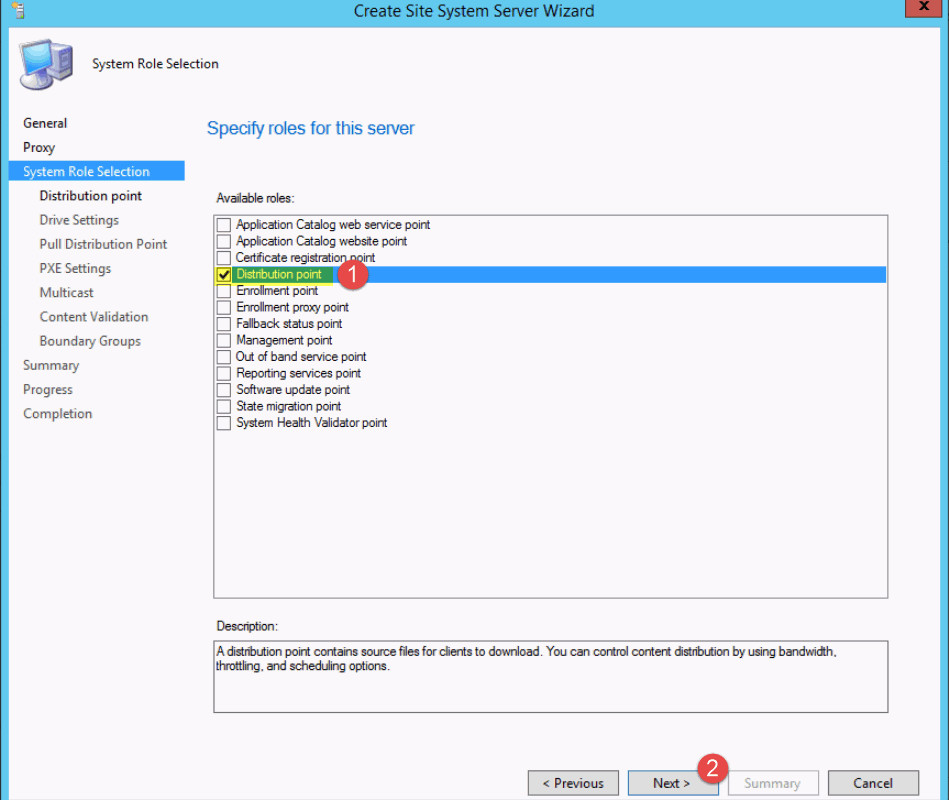
State your intent DP Server

CheckBox the “Distribution Point” Role and continue with Next.
Checkbox the “install and configure IIS if required by Configure Manager” it will install IIS service on DP.
- Type description
- Allow the client to connect anonymously
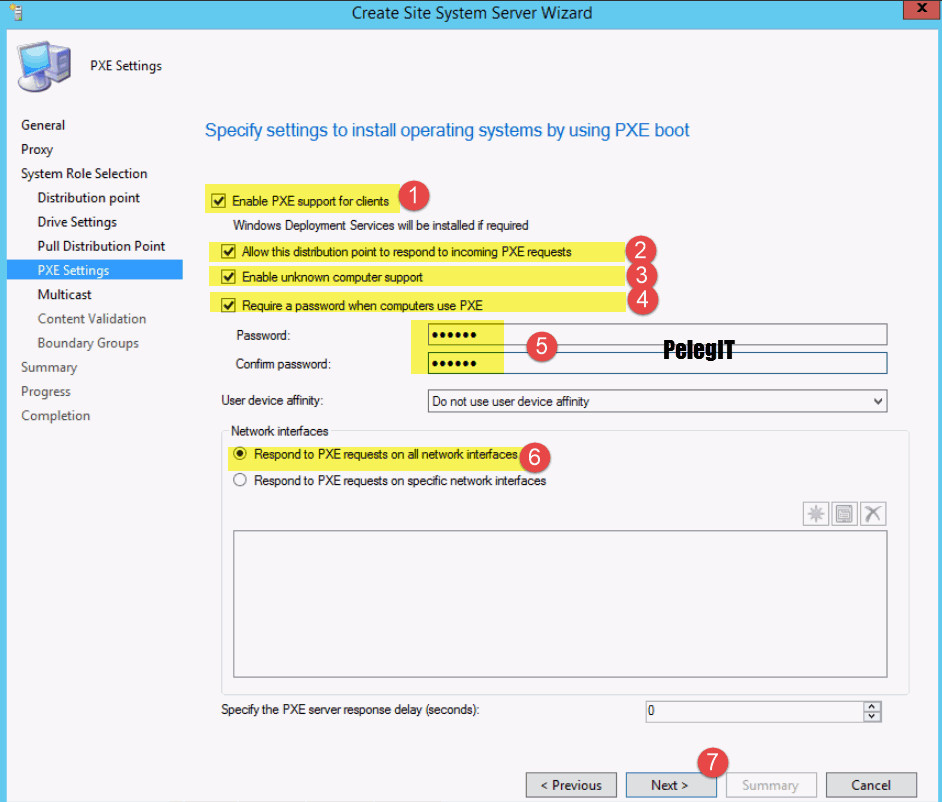
- This internal certificate is very important, namely, without this certificate, you will not be able to boot PXE on your branch.

You have the ability to set where all data will keep on the new DP, when I say data I mean to all OSD, Pack, App, etc…
You even can set specific Letter Drive, but by default, the “Automatic” selection will save the data on the mostly free drive on DP

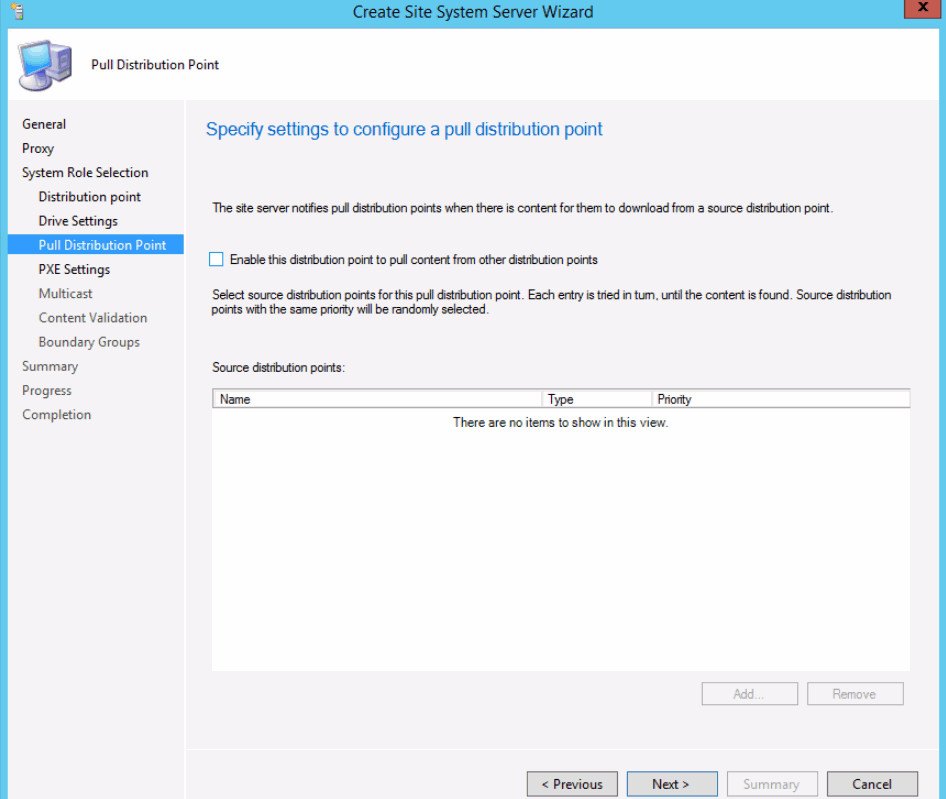
Not only, you can set that this new DP will pull content from different DP, I suggest to enable it after the first sync already done.
1 ) Enable PXE Support
2) Allow this DP to respond to incoming PXE request.
3)Enable to unknown computer support
4) Require a password (not required, from security circumstances, recommended enable it.
6) In addition, you can restrict PXE request to network interfaces.
Note:
This step will install a new WDS role on DP server, the WDS role will be the focal point for image deployment.
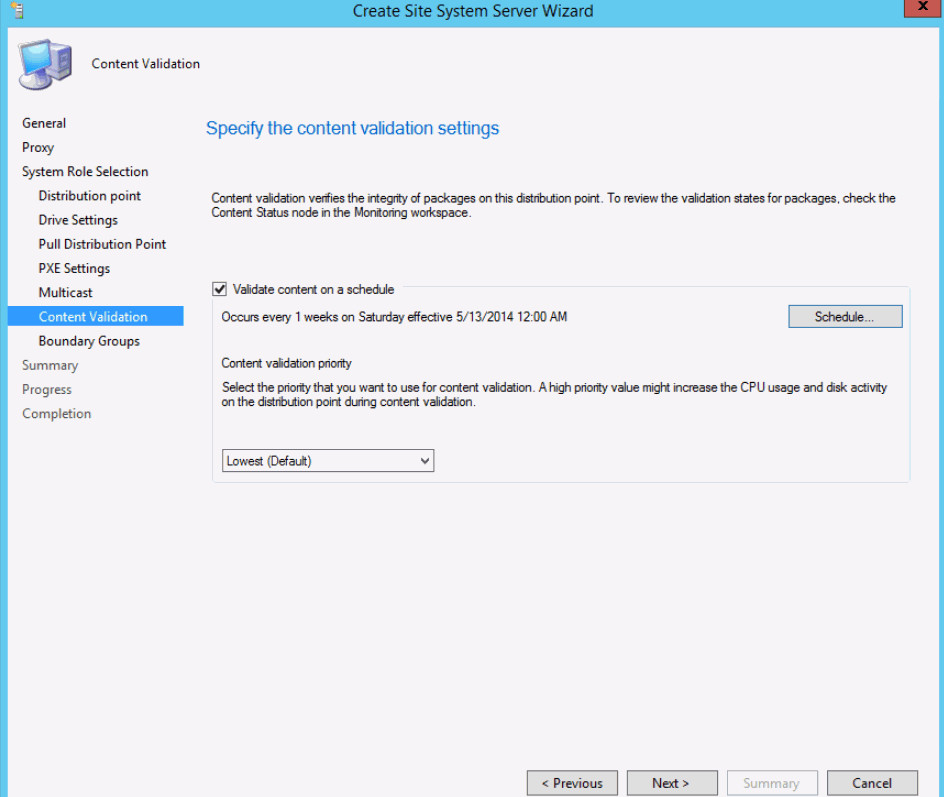
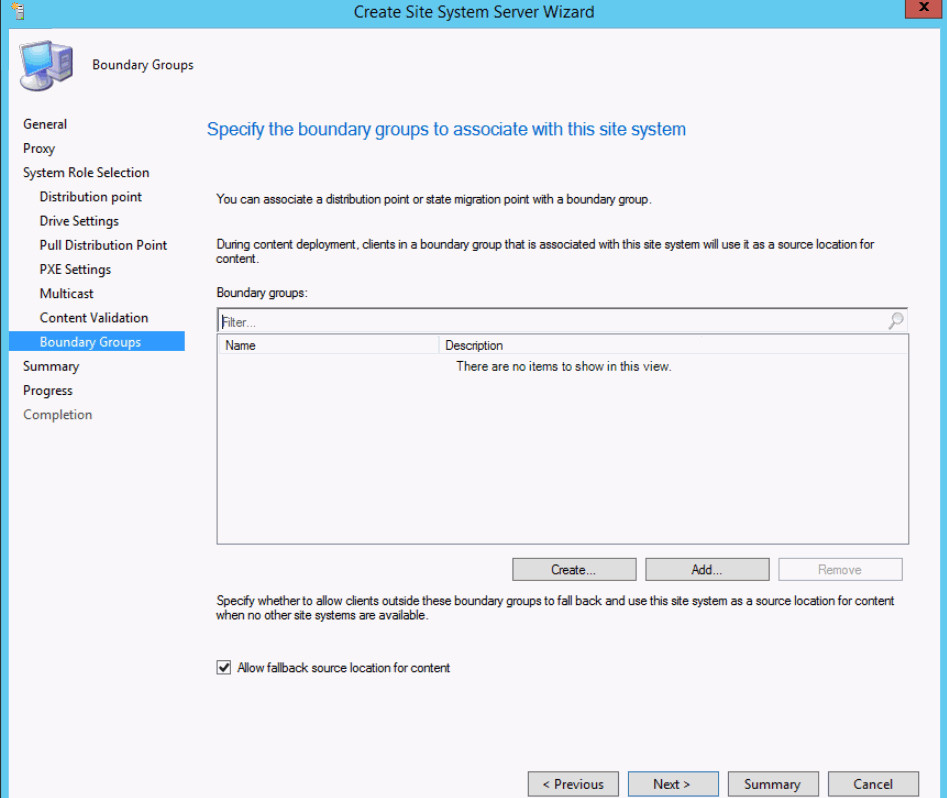
- Very important, you have to set which boundary group use in this DP, without set these settings correctly the DP won’t serve the branch correctly.
- I didn’t fill it, but guys do not forget it.
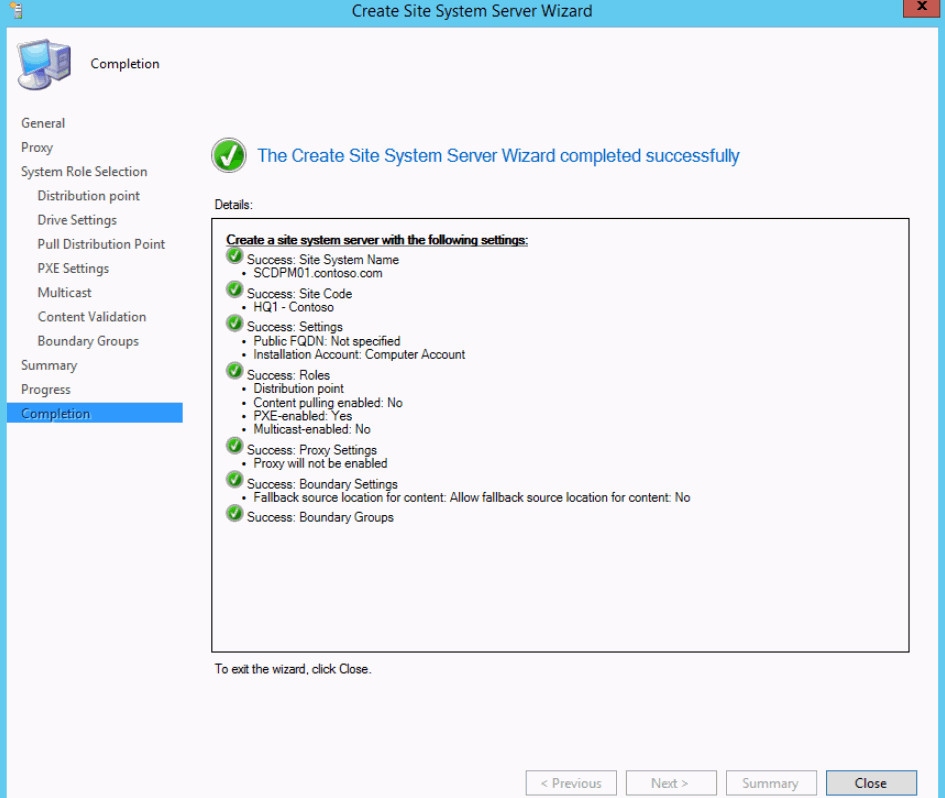
The Create Site System Server Wizard Completed Successfully.!
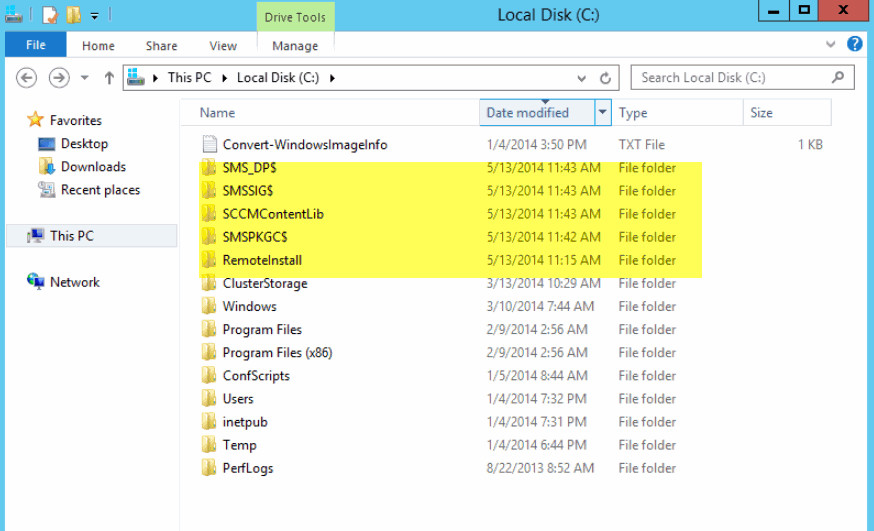
Here you are!
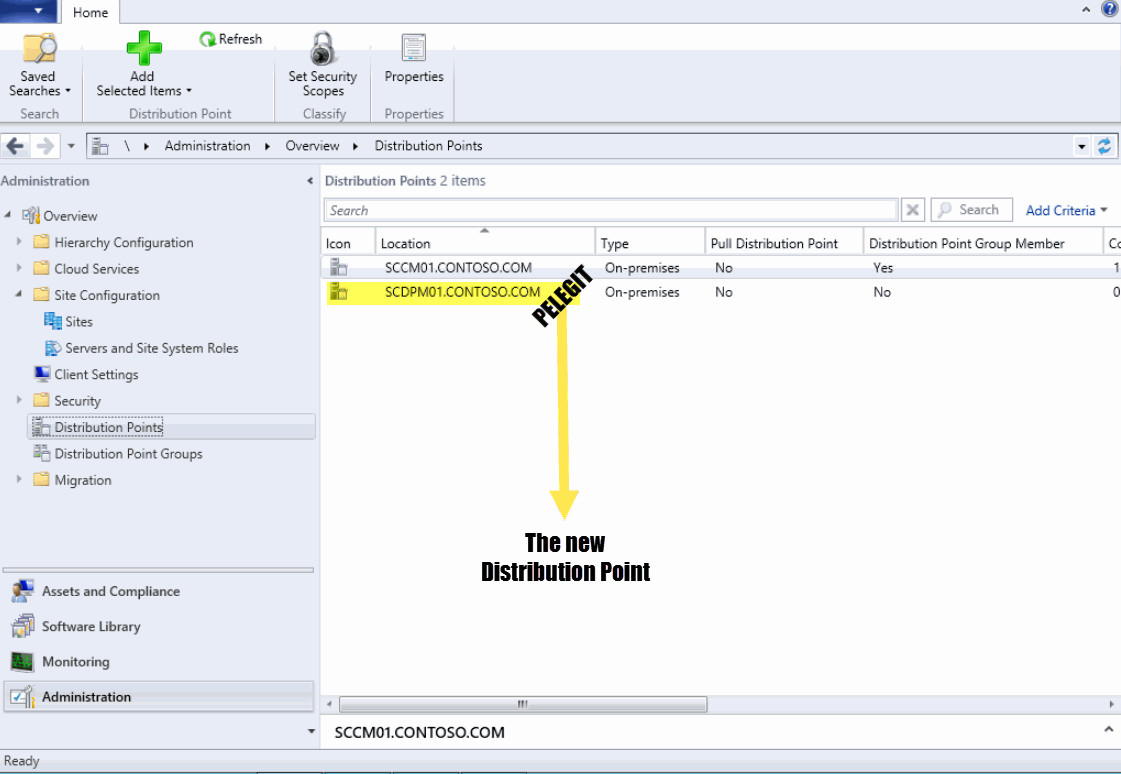
You can see that the folders have been created automatically and the process works!
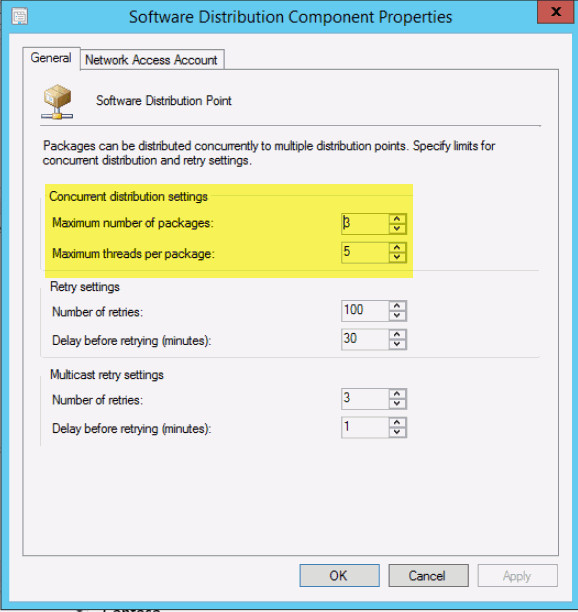
By the Way, you have to ability to speed up the replication process between DP’s by changing the “Concurrent distribution settings’ (consider it before you change it… bandwidth…..)
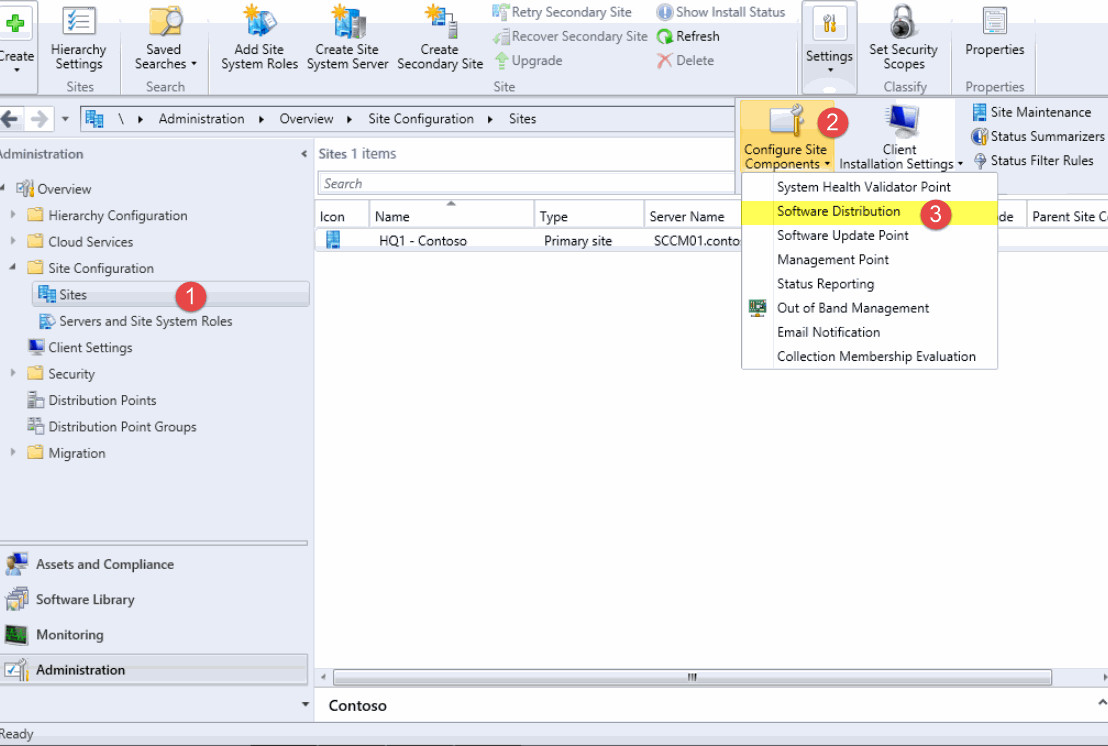
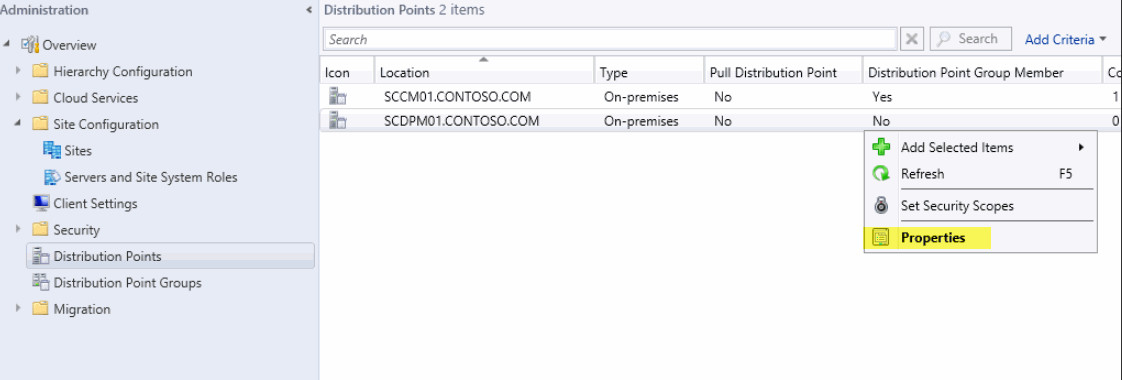
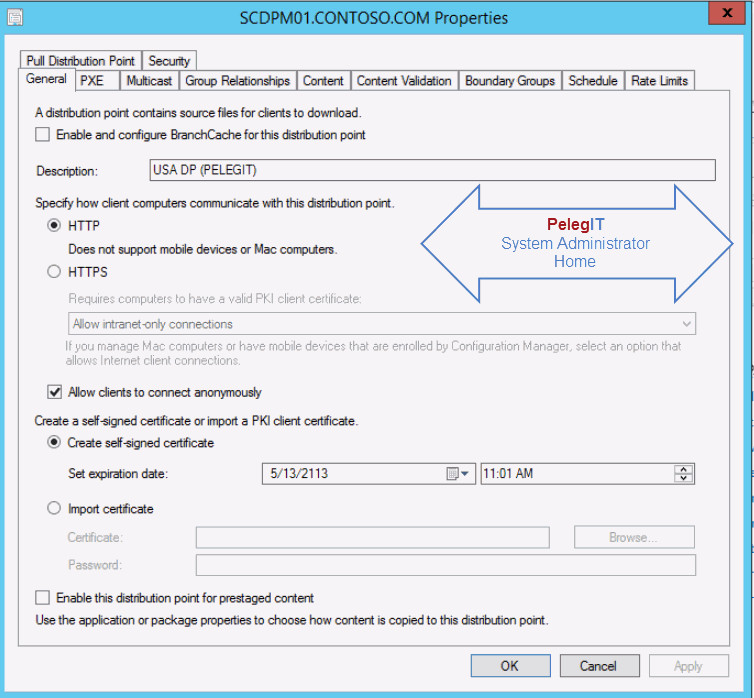
Oh, almost forget, after DP has been created you can change DP settings simply.
Administration > Distribution Points > Right-Click on new Dp and select Properties:
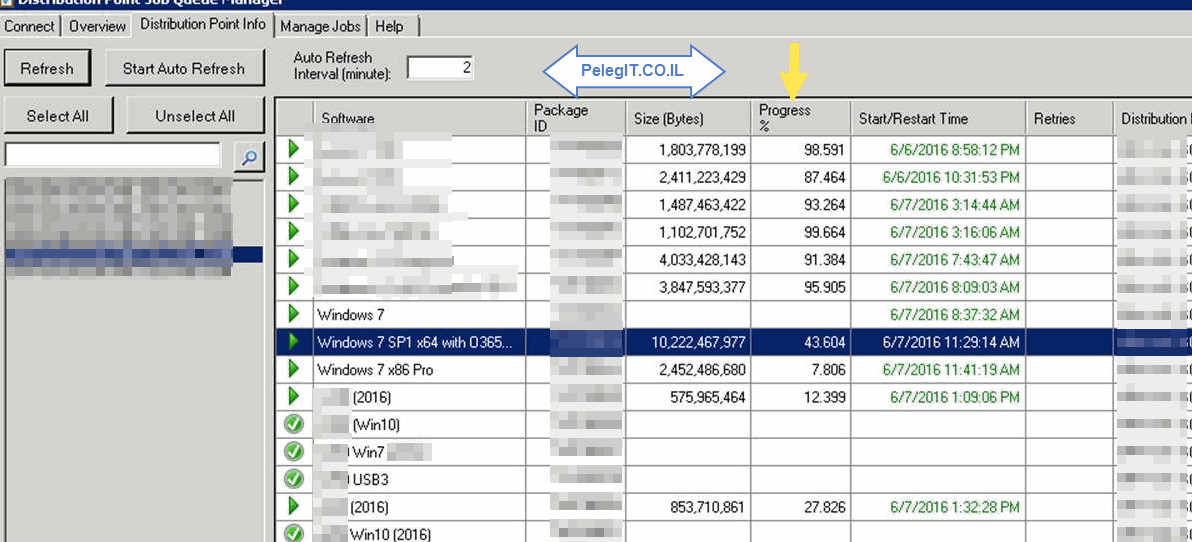
The last thing I want to state it’s, As soon as you start to replicate all your content to new DP you can follow to the replication process and see which packages already replicated or what in-queue, in order to see it, you have download ConfigMgr Toolkit 2012 R2 – DP Job Queue Manager