Kernel Migrator for Exchange Product Review
Exchange Migration is a complicated task when you are doing it manually. However, you can simplify this migration using some specialized software. You just need to find the right tool and gain the expertise to use the tool. Many Exchange migration tools offer brilliant features that allow you to perform the migration with remarkable ease. Today I am writing about the Kernel Migrator for Exchange highlighting its important features.
Kernel Migrator for Exchange
Kernel Migrator for Exchange is designed to perform Exchange to Exchange, Exchange to Office 365, and Office 365 to Office 365 migrations. Before proceeding with my review on Kernel Migrator for Exchange, I just would like to mention some migration problems a Kernel Migrator for Exchange claims to solve:
- Hassle-free migration without errors and disruptions.
- Performs migration irrespective of the version and the deployment type of Exchange Server
- Better than the manual migration methods as it has better management features
- Not affected by shortage of server resources (as it can use the resources of network computers).
- No complexities involved – makes migration simple and easy.

Step1. Pre- Migration Analysis
A pre-migration analysis will help you calculate the time taken by the tool to migrate the mailboxes or public folder data from the source to the destination. For this, you just need to provide the network speed and the number of additional computers (agents) you are going to use for the migration. After the analysis, you get will get a pre-migration analysis report.

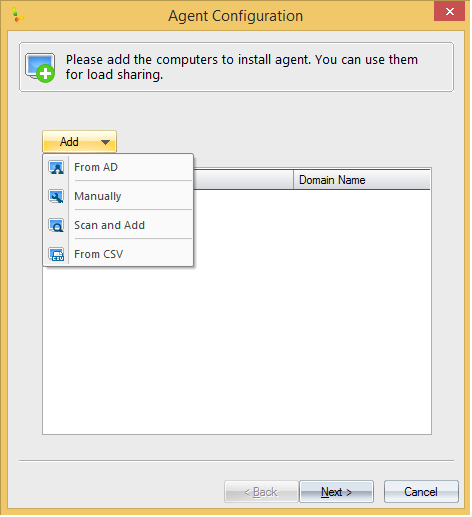
Step2. Agent Configuration
In many cases, the migration process slows down because of low server resources. The Kernel Migrator helps to solve this issue by sharing the migration load with the network computers by configuring them as agents. You can add network computers as agents in different ways -Manually, from Active Directory, by searching for network computers, or using a CSV file.
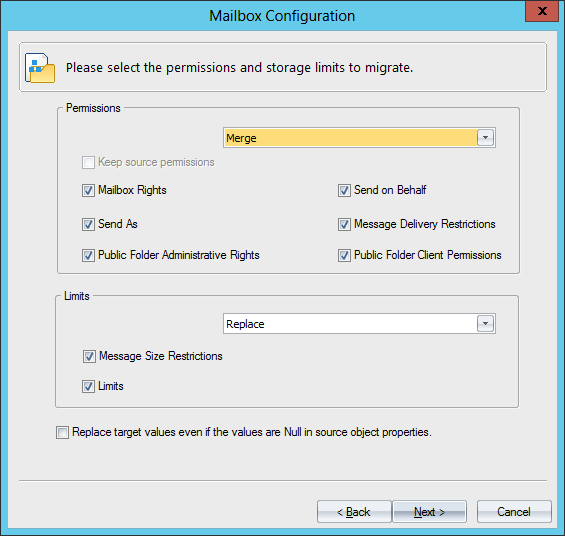
Step3. Mailbox Configuration
This mailbox configuration step is the process of creating and migrating source mailbox and public folders in target Exchange server. Configuring mailbox is like creating a two-way trust while migrating and permission that a user is having source Exchange server and migrating to target Exchange server. By this process you can map your source Exchange mailbox with target Exchange mailbox. This step also helps you to create a mapping between sources and target Exchange mailbox.
It’s not just mailboxes and public folders, their permissions and limits also can be migrated using Kernel Migrator for Exchange.
Step4. GAL Synchronization
GAL Synchronization is the process of updating or modifying Global Address List of the source, target, or both the source & target in accordance with the changes in the source or target GAL. Using Kernel Migrator for Exchange, one can directly synchronize your address list completely or partially from source to target, target to source, or both the ways. This helps in the successful transition from the old Exchange environment to the new one.

Step5. Migrating mailboxes and public folders
The migration process in Kernel Migrator for Exchange is straightforward. Basically, it involves the creation of a project followed by the creation of jobs for the migration of mailboxes and public folders. The entire process is simple and easy to execute. I am just mentioning the steps to give you the idea about the process to follow:
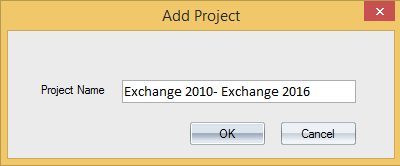
1) Launch Kernel Migrator for Exchange and click Add Project.

2) In the Add Project window, mention the name of the project. You can add all the migration jobs to this project for simplicity.
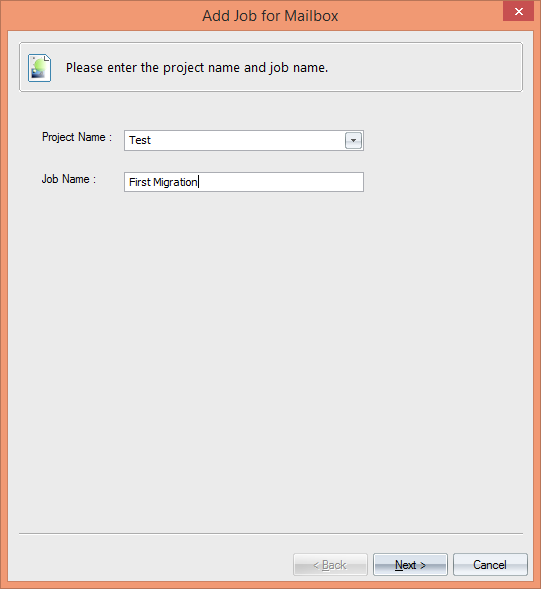
3) Now click Add Job; in the Add Job for Mailbox dialogue box, select the project name and enter a name for the Job. The creation of jobs simplifies the migration process. You can create multiple jobs at a time.
4) Now you have to provide the information about the source Exchange Server. You also, need to select a profile.

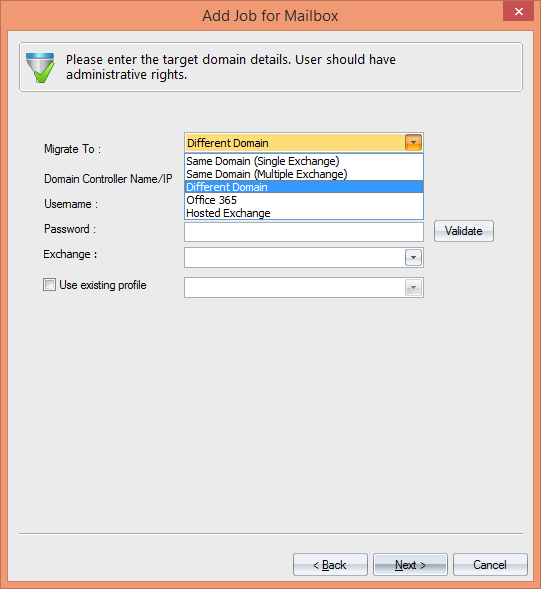
5) Now provide the details about the destination. The tool supports almost all types of Exchange/Office 365 migrations – same domain (single/multiple Exchange), different domain, Hosted Exchange, and Office 365.
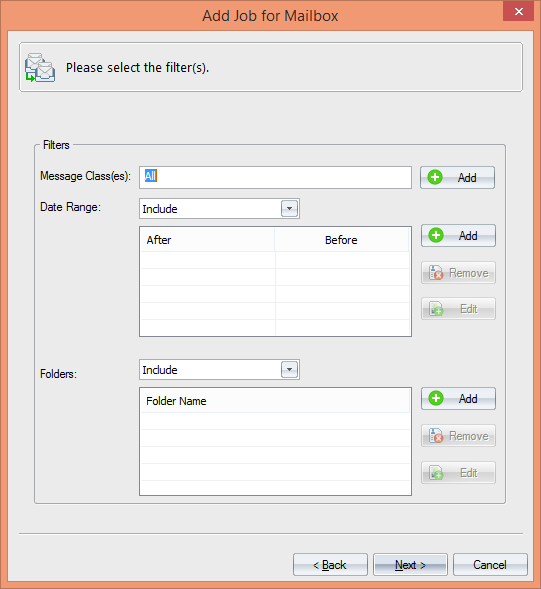
6) Apply filters to select the data to be migrated. You can include or exclude data from the source mailboxes by criteria like Message Classes, Date Ranger, and Folders.
7) Now map the source Exchange mailboxes with target Exchange mailboxes (you have the option for automatic mapping and manual mapping).

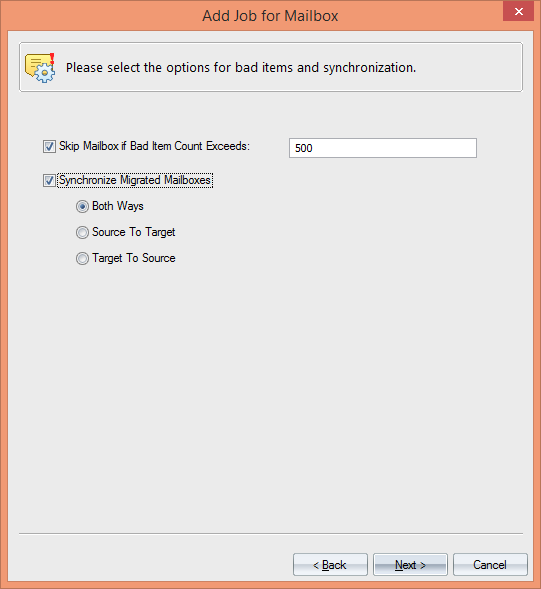
8) Now select the required options for bad items and mailbox synchronization.
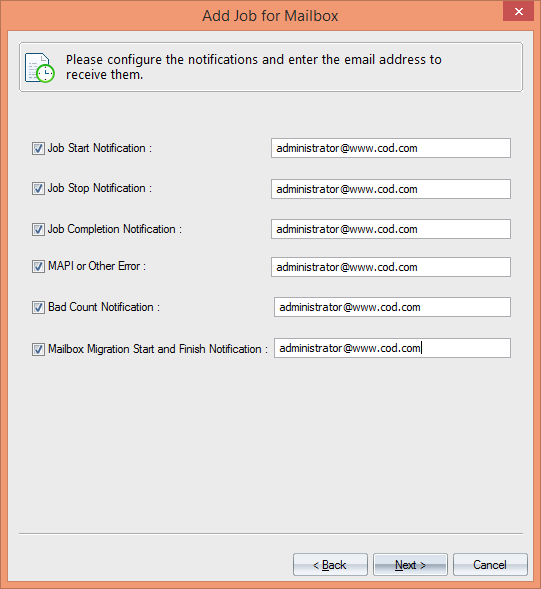
9) Provide the required notification settings if you have not configured it earlier. This option helps you get notifications at the important stages of the migration.
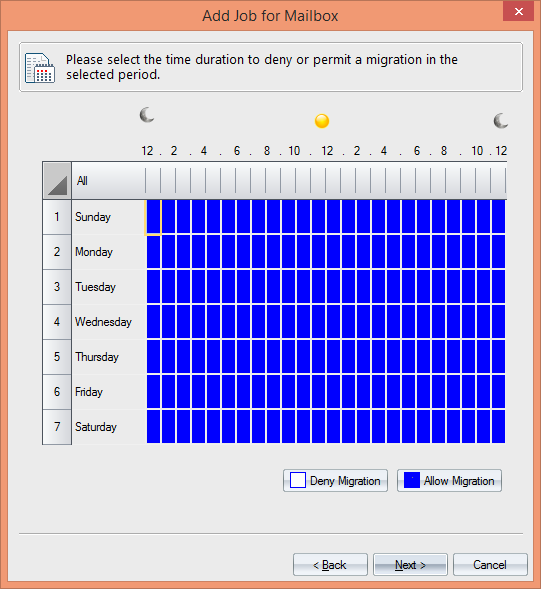
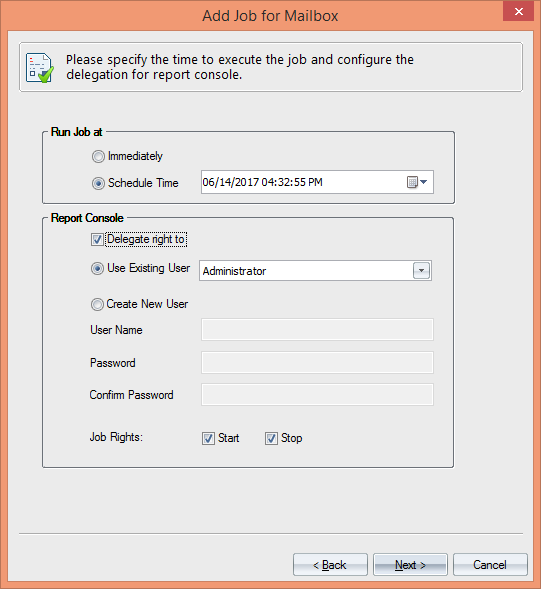
10) In this step, you can select the hours for the execution of the migration job. With this option, you have the perfect control over the execution time.
11) Now you can run the migration job immediately or schedule it for a future time. Also, you can delegate rights to access the Report Console (to view web-based migration report).
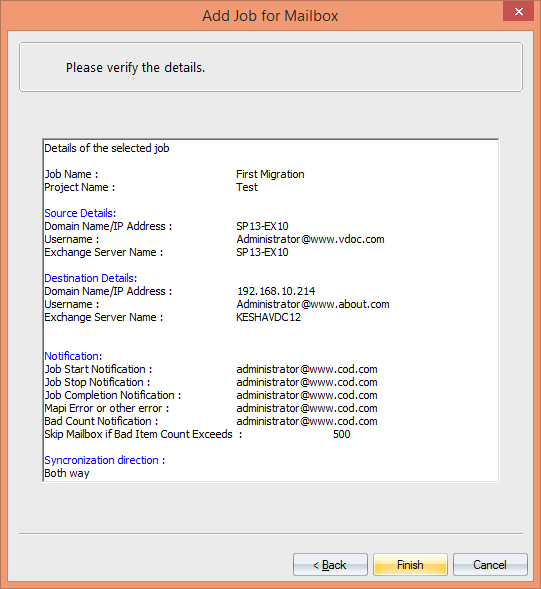
12) After the creation of the migration job, you will get a summary of the all the settings you have configured. Just review the settings and finish the job creation process. You can manage this job from the Report Console.
After the creation of mailbox migration job, you can create a migration job for public folders too. The process is somewhat similar.
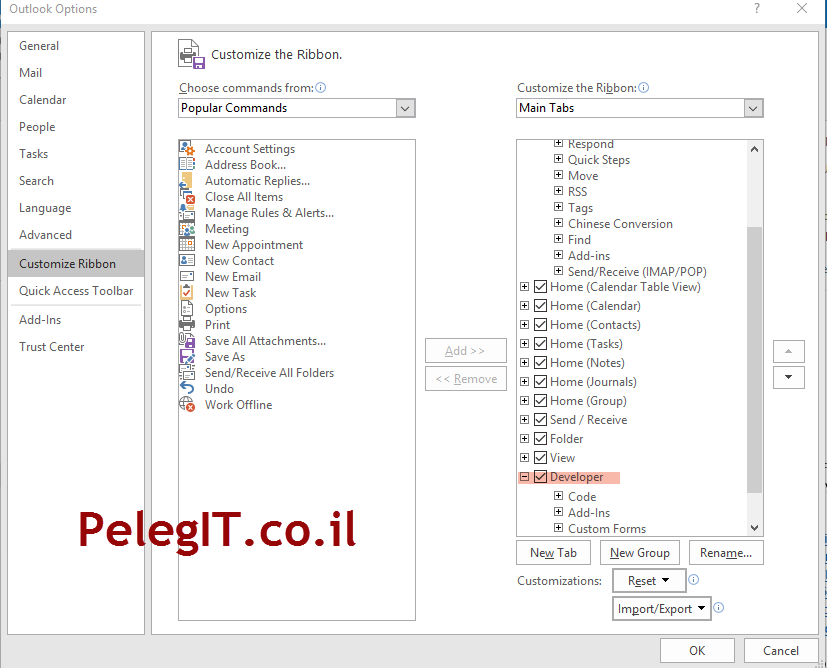
Step6. Migrate Outlook Rules & Permissions
Kernel Migrator for Exchange helps to migrate Outlook rules and folder permissions too. For creating your rules and permission, you have to click on Tool then choose Outlook Rules and Permission and follow the instruction.

Step7. Profile Manager
In profile manager, you can update Outlook profiles of those mailboxes which are migrated from source Exchange to target Exchange. Through this step, you can create, edit, clean and undo your Outlook Profile.
Kernel Migrator for Exchange, with the help of the Group Policy Management Console, helps you update the Outlook profiles after the Exchange migration. The profiles can be updated in the same domain, different domain, and Office 365.
Kernel Migrator for Exchange, with the help of the Group Policy Management Console, helps you update the Outlook profiles after the Exchange migration. The profiles can be updated in the same domain, different domain, and Office 365.

The features I liked about this tool
You might have become familiar with the important features of the tool as we were going through the tasks that can be accomplished using this tool. Now, let me list a few features I liked:
- Pre-Migration Analysis that helps in calculating the time required for the migration.
- Sharing of migration load with the network computers by adding them as agents.
- Performs cross-forest migration, i.e., migration Exchange data in a cross-forest environment.
- Migrate public folders from one version of Exchange server to another version of Exchange server.
- Allows manual as well as automatic mapping to map source Exchange mailboxes with the target Exchange mailboxes.
- Enabled with migration schedule feature to let you schedule the Exchange migration job.
Final words
My experience with this tool is excellent. I would say that this tool is perfect for performing migration of Exchange and Office 365 migrations. One can get full control over Exchange migration using this tool This tool has many excellent features which have the potential to ease the migration tasks.. Along with that this is an easy to use tool too.
Summary
Organizations may face many issues during an Exchange migration. Kernel Migrator for Exchange is an answer to many of these issues. This tool simplifies the entire migration process by executing various tasks as jobs. Also, it has features for pre-migration analysis, migration load sharing, Outlook profile update, etc.
https://www.kerneldatarecovery.com/exchange-migrator/